My earlier gateway box, the Lanner NCA-1010B decided to stop working, leaving everything as a messy chaos. I gobbled up my retired Zotac Zbox and hastily built a makeshift router.
A long term solution was however needed. I had heard good things from this no-bullshit-geeky Swiss company called PC Engines GmbH. They make a board called APU2E0, among other things. It is a AMD GX-412TC-based SOC product with 2 Intel i211AT NICs. And it does not have regular monitor connections. Instead, there is a DB9 serial port for installation purposes.
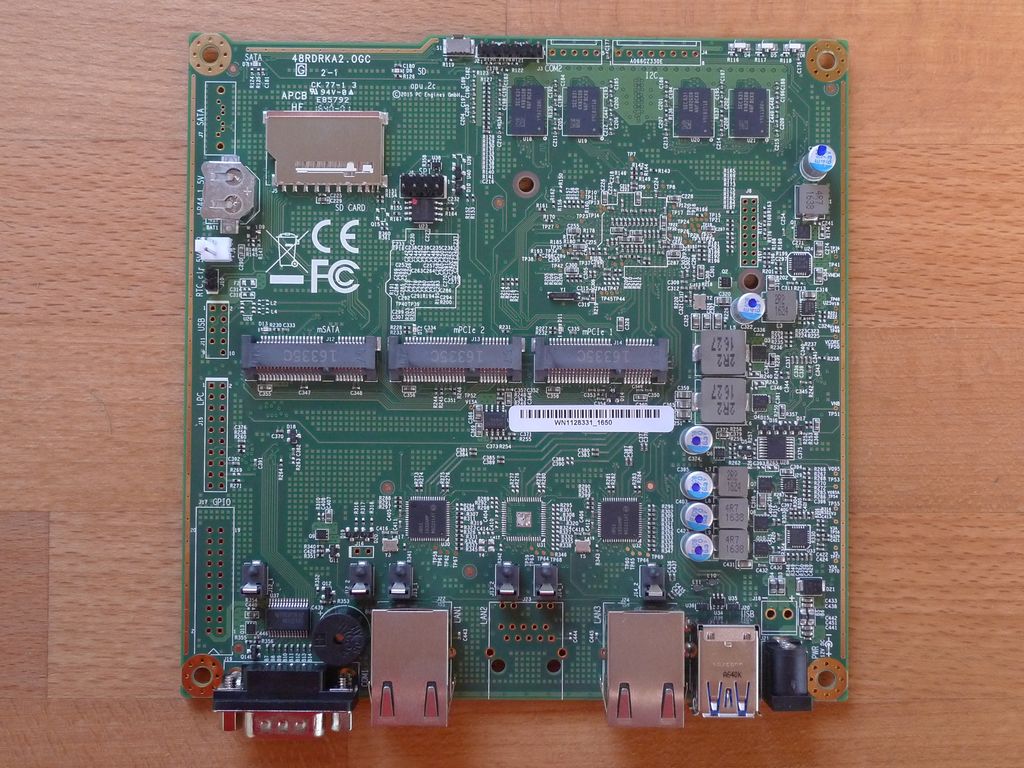
The board’s sister version is pictured below for reference.
Ordering APU2E0 (to Finland)
Due to some EU bullshit, the company does not sell to individuals, only to corporations. However, they list resellers on their page. And recommended/only viable reseller for Finland was a Swedish company TekLager.
![]()
The thing is TekLager offers a router builder service where you can configure all options you want for your router order, like board, chassis and storage. See:
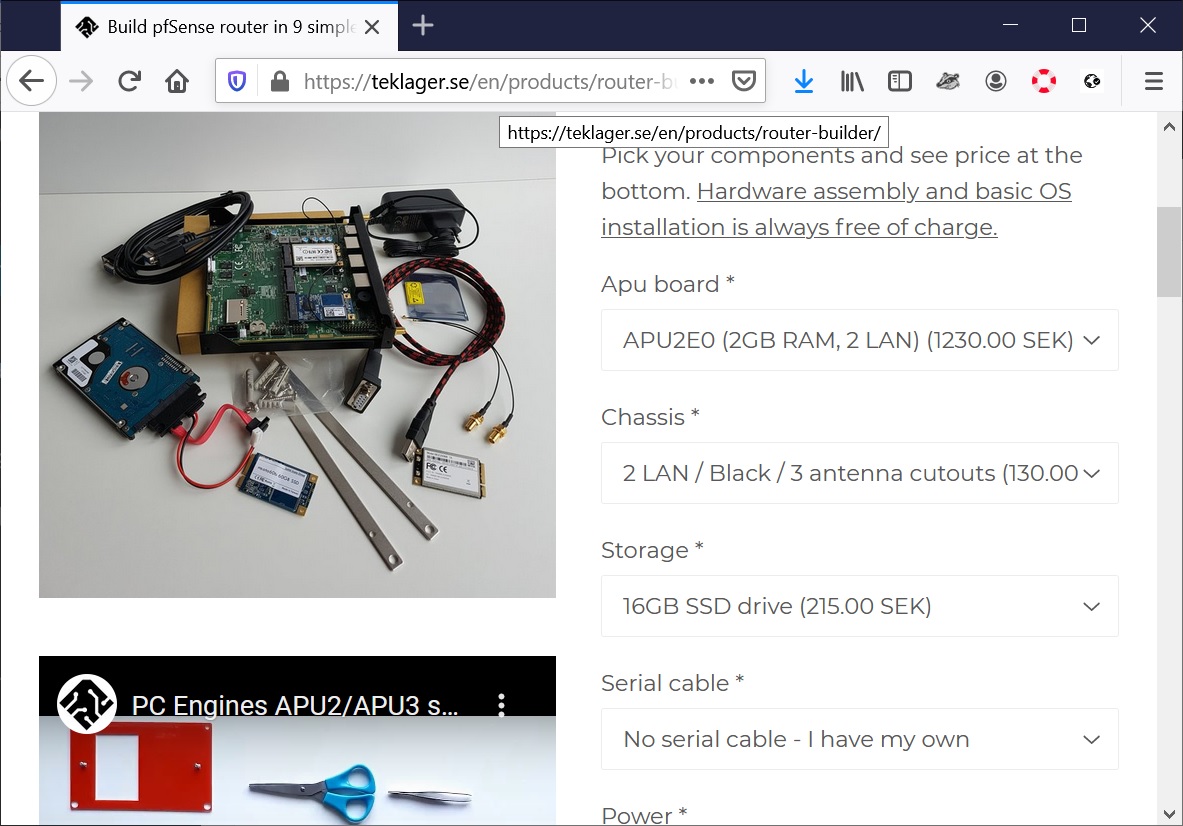
And they even install the operating system you want from a list of some 10 different options. Completely free of charge. They also build the thing for you with proper thermal pad application etc. And they have a list of cool benchmark results of their products. For example see:
https://teklager.se/en/knowledge-base/apu-vs-tlsense-cpu-performance-comparison/
https://teklager.se/en/knowledge-base/aputlsense-boards-spec-comparison/
https://teklager.se/en/knowledge-base/cpu-temperature-apu-board-apu2-router/
Judging from stuff from their website it is extremely obvious they are very knowledgeable in what they do and they really go for the extra mile for the customer *. This combination is extremely rare in IT, really. For these reasons, I fully recommend buying your PC Engines hardware from TekLager and give them a solid 5/5 grade.
((*) On a more personal testimony, I fucked up the payment of my order a bit, but they were very kind to rectify _my_ mistake themselves. )
So I configured my router on their website (APU2E0/2GB/2 NICS, basic black chassis, 16GB SSD, European power adaptor). I did not request OS installation because I wanted to do it myself in order to learn stuff.
I did not order a serial cable because I had my own. BUT… if you are ordering the set and have no idea you have one, please order one from them, preferably USB-to-serial cable. It fits the unit perfectly without gimmicks.
Unboxing, connections and size reference
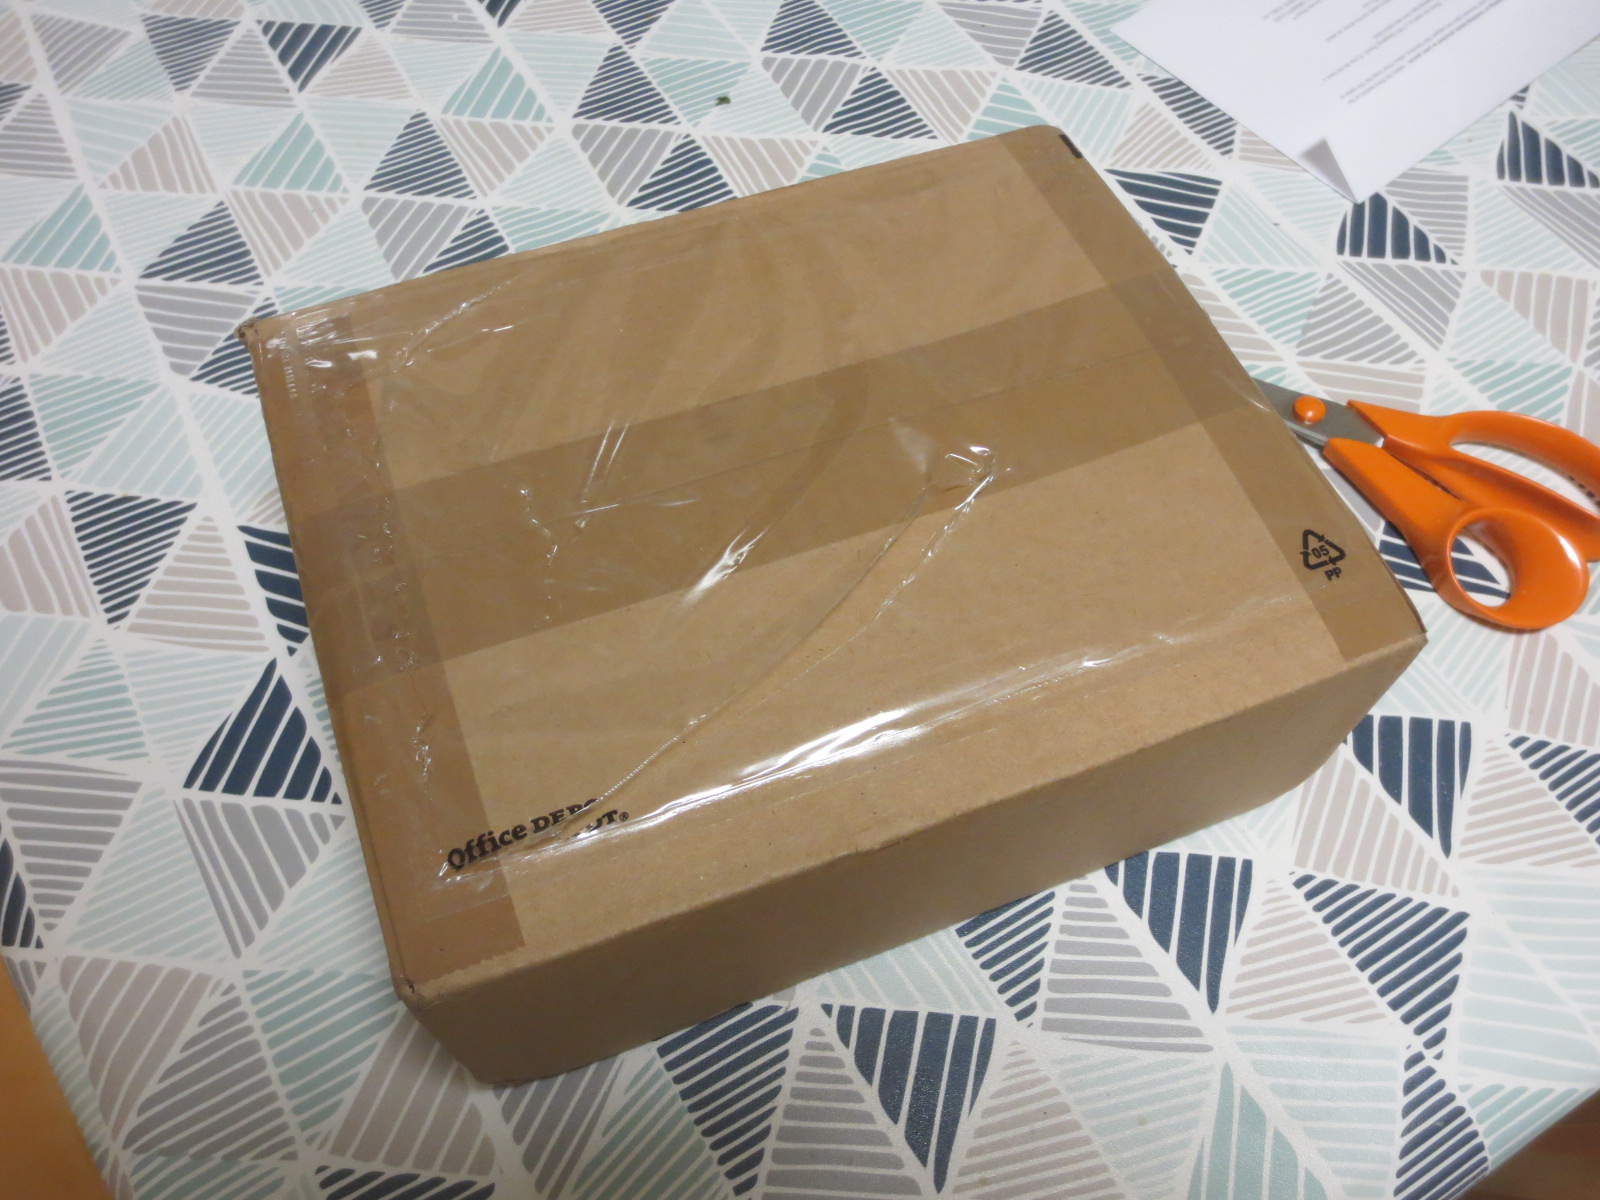
The unit arrived quite on time to my rural location in Finland. It arrived in plain cardboard box:
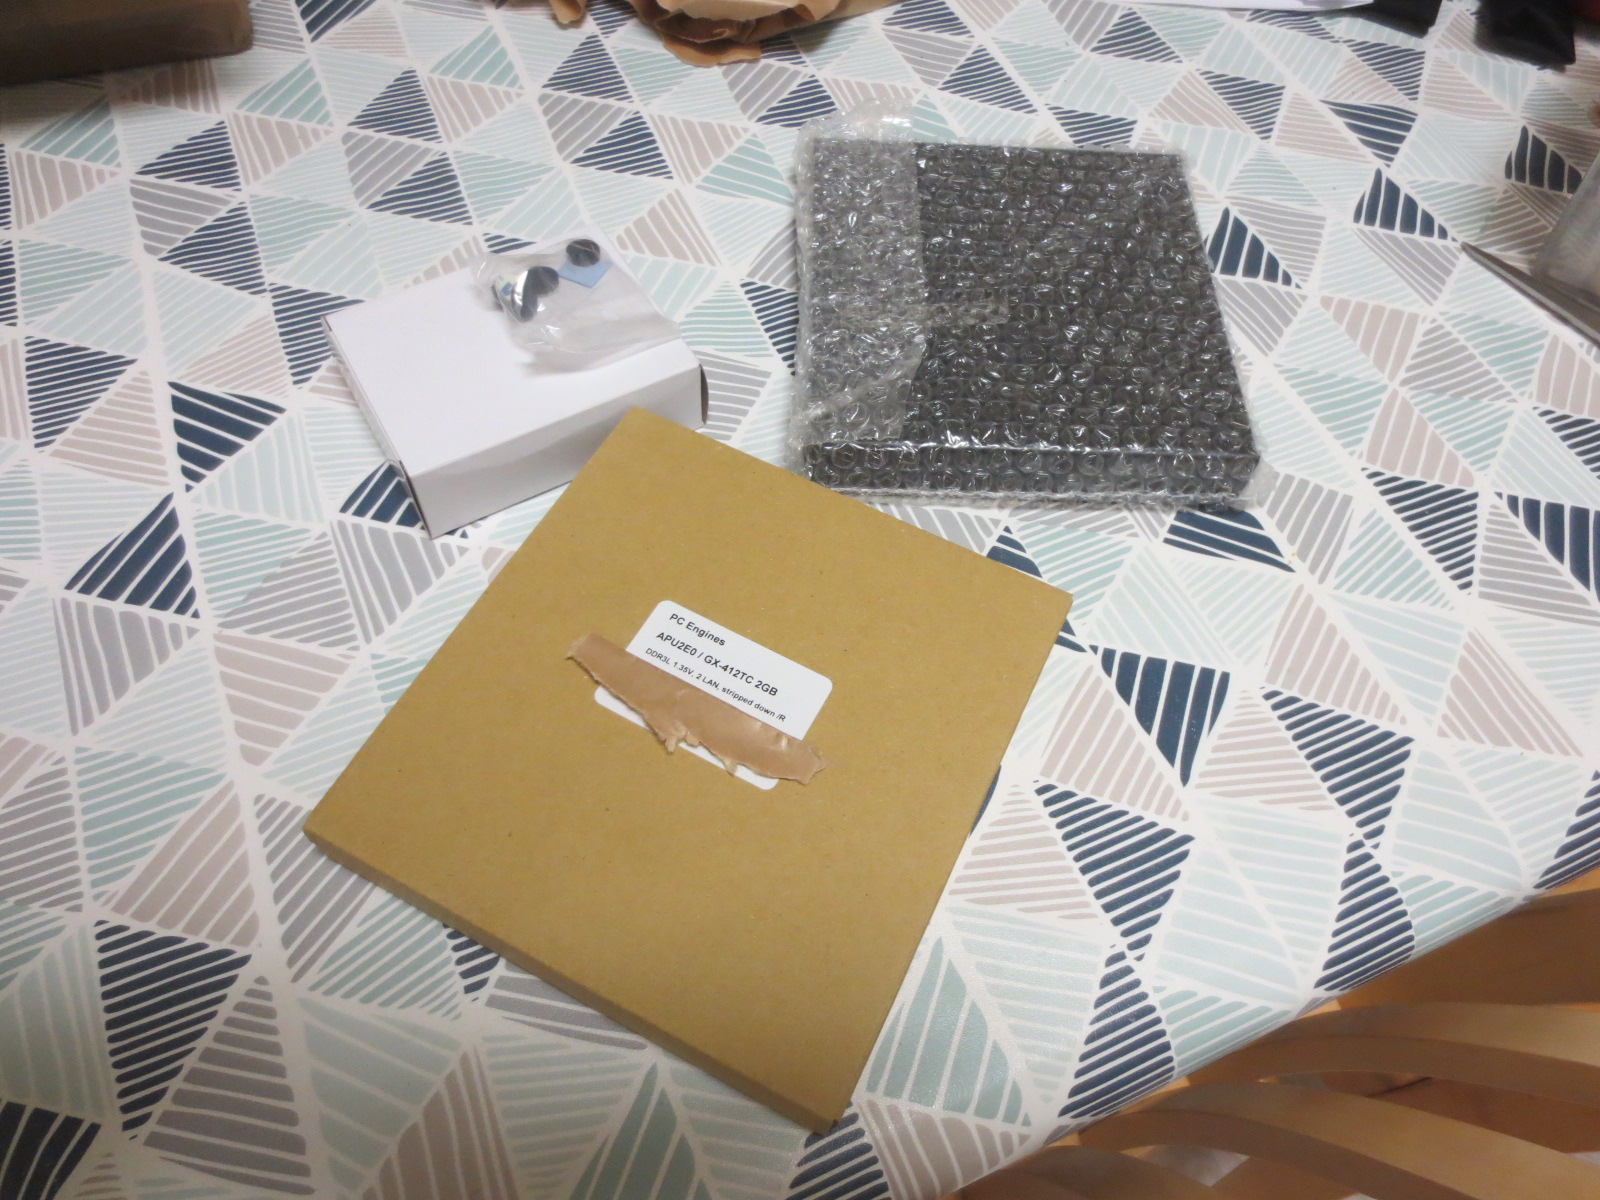
What came inside was empty cardboard sleeve for the APU2E0 SOC with identifying information (bottom), power adaptor in white box, small plastic bag with 4 stub “legs” / anti-skid pads and extra thermal pad and finally in bubble-wrapping the actual chassis containing the SOC:
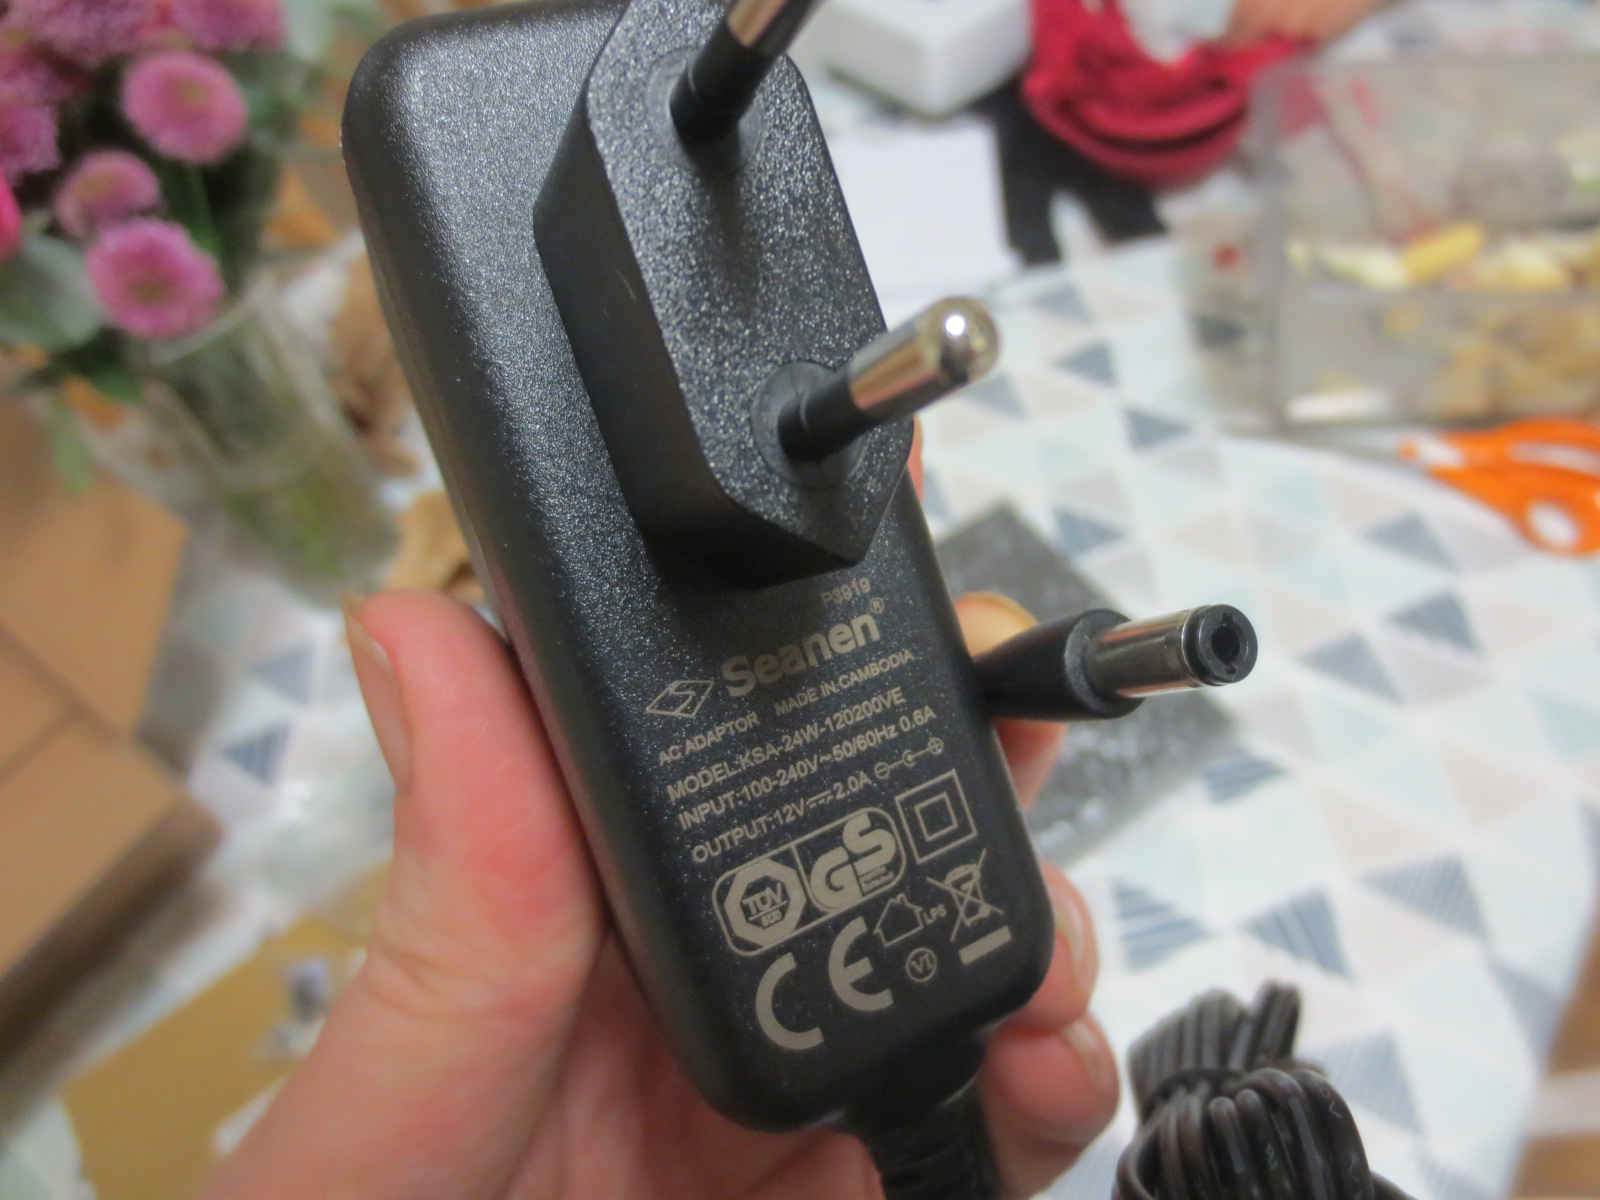
The power adaptor is a Seanen model KSA-24W-120200VE. Input range is 100-240 V (AC) ~ 50/60Hz @ 0.6A. Output is 12V (DC) 2.0 A. Adaptor pictured below:
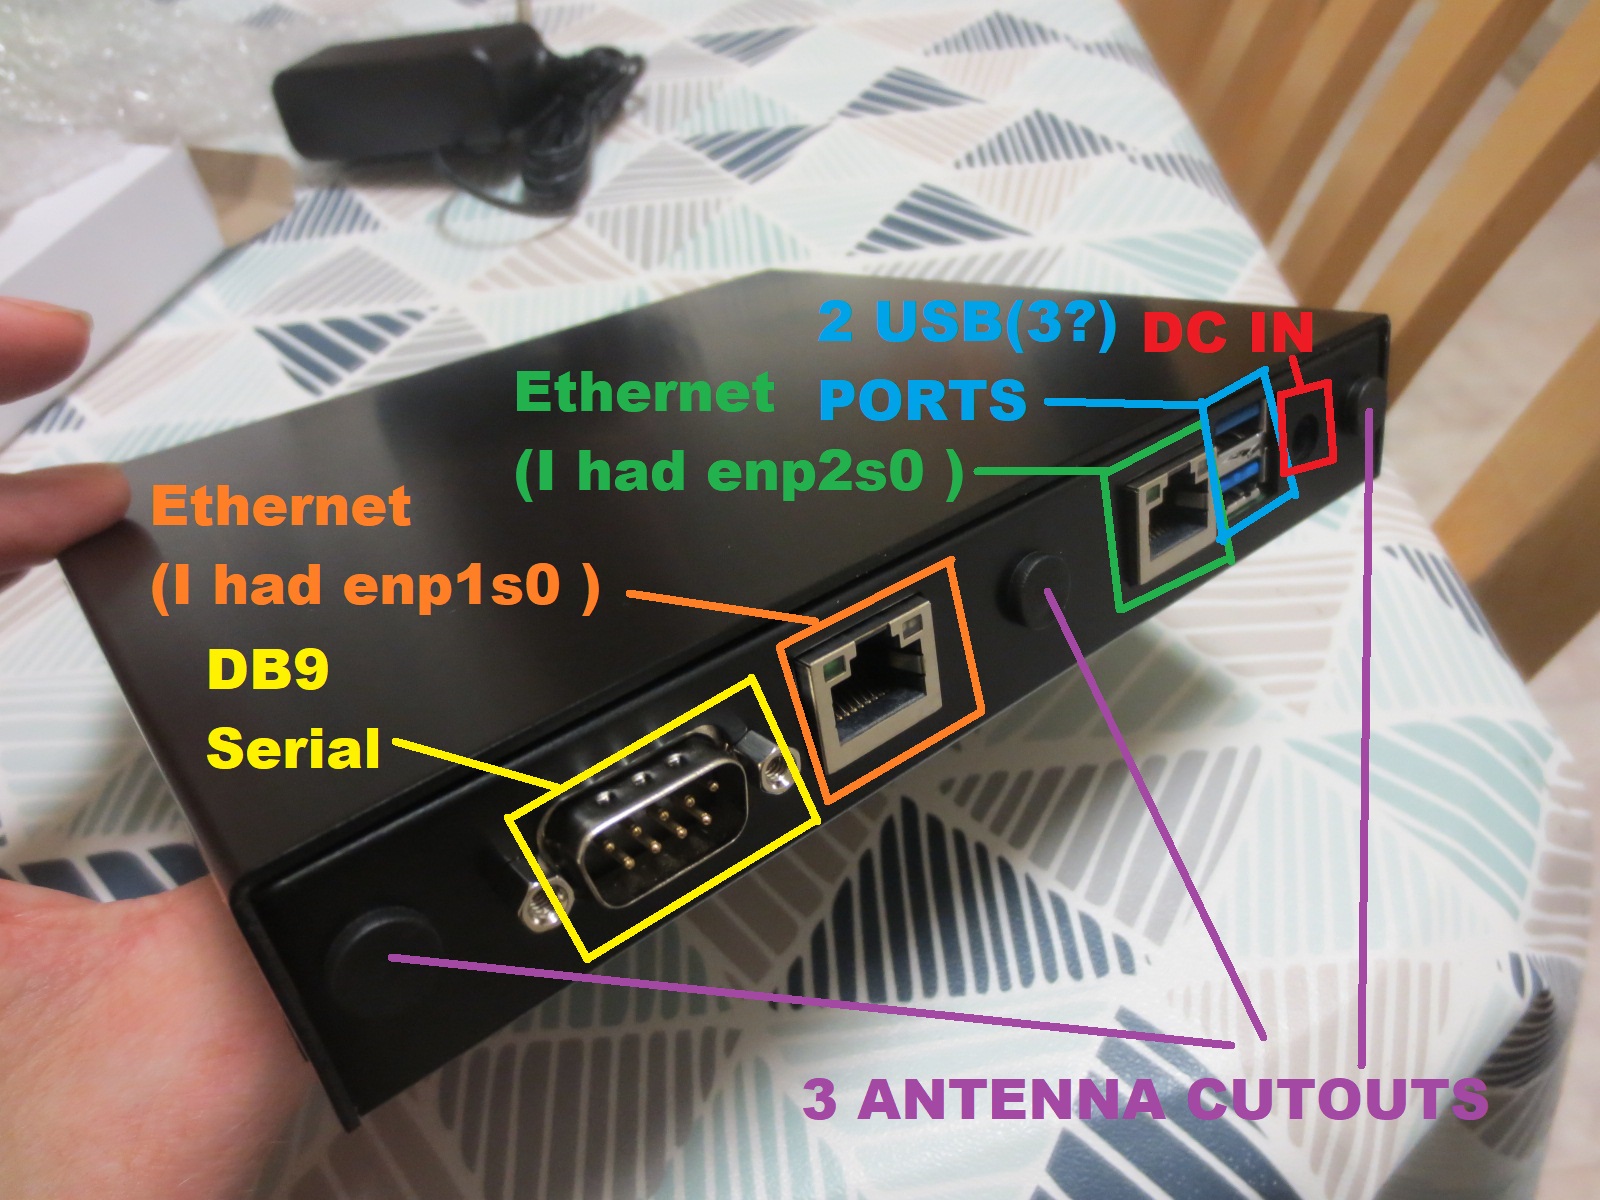
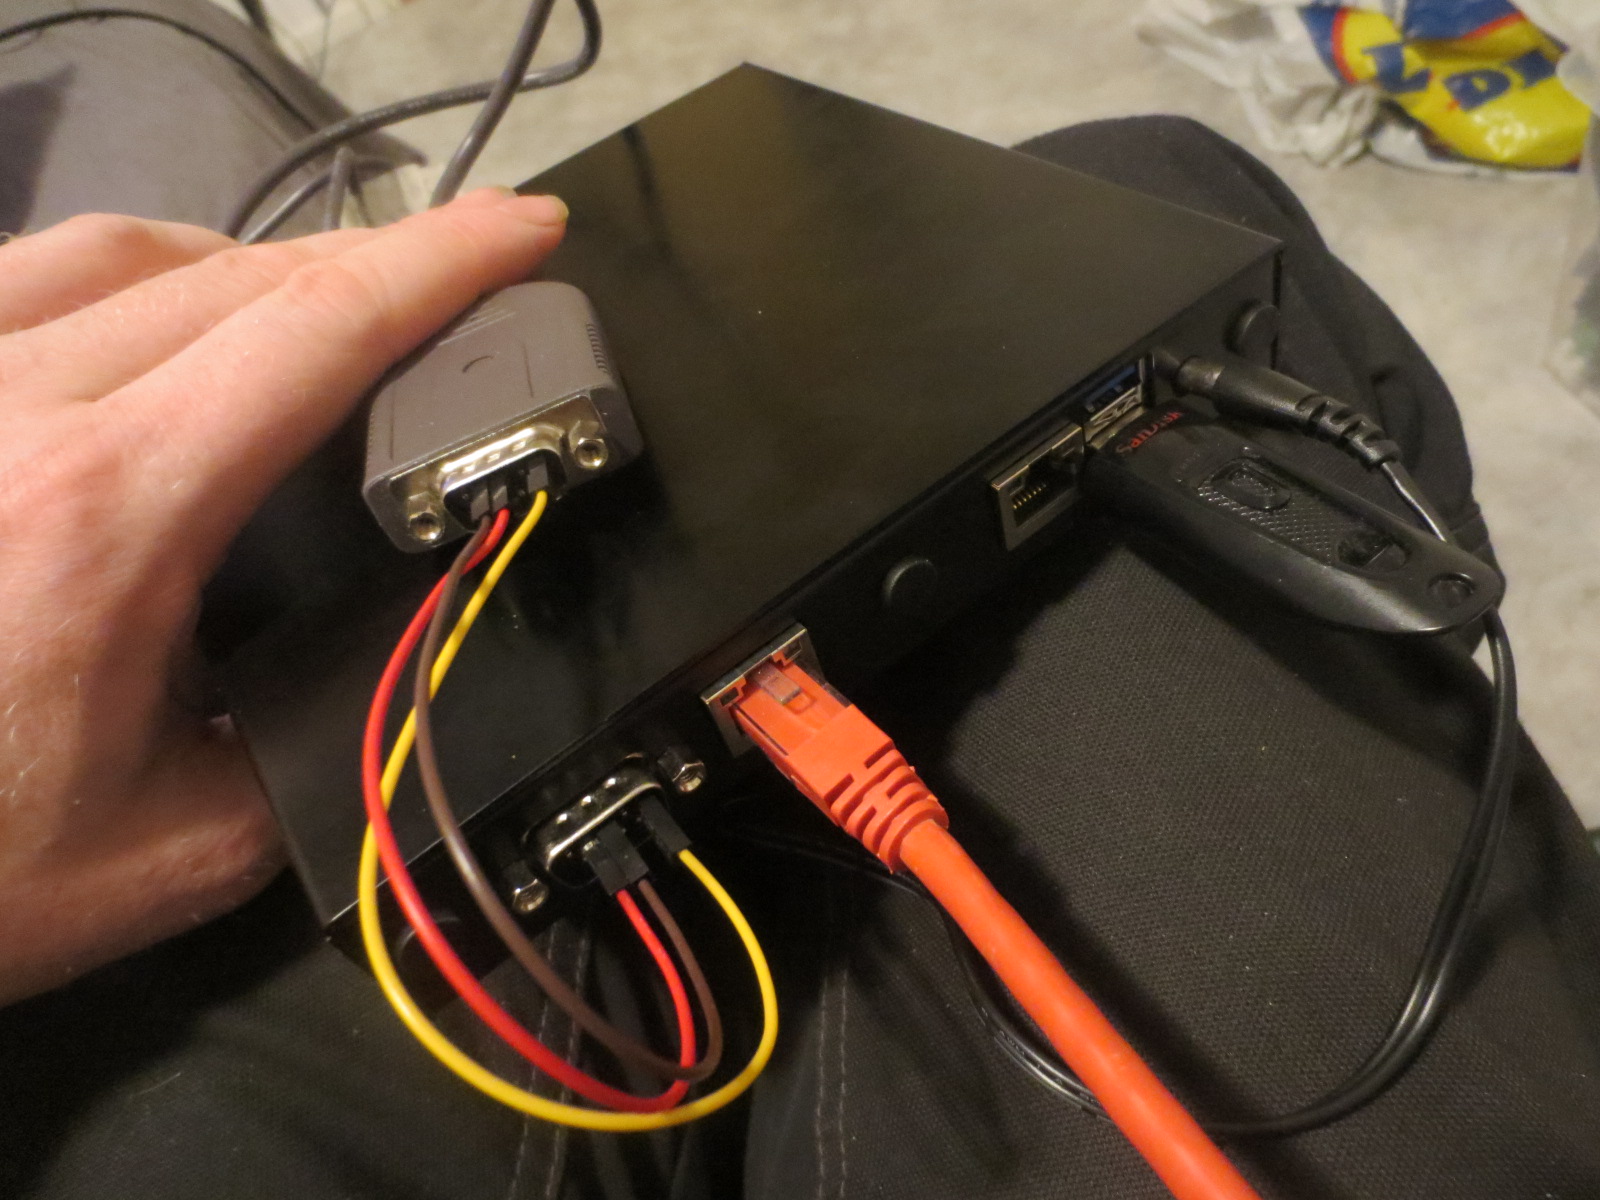
Most relevant connectors of the unit are pictured below. But in words, there is DB9 serial connection and then 2 Intel NICs. The first from left gets assigned enp1s0 and the second one is enp2s0. This is very convenient for me as I put Wan first interface and LAN on second interface of a router. Following the second Ethernet port there is stacked double-port of USB, which is probably USB3 judging from the color and the output of lsusb. Other side has 3 indicator LEDs and I might have seen some kind of reset(?) hole somewhere. Might, but I am not sure. If I heard right, the unit has also a buzzer for signaling conditions.
And finally, the obligatory size comparison with a 0.33 liter soda can:

Getting connected with “funny” serial cable
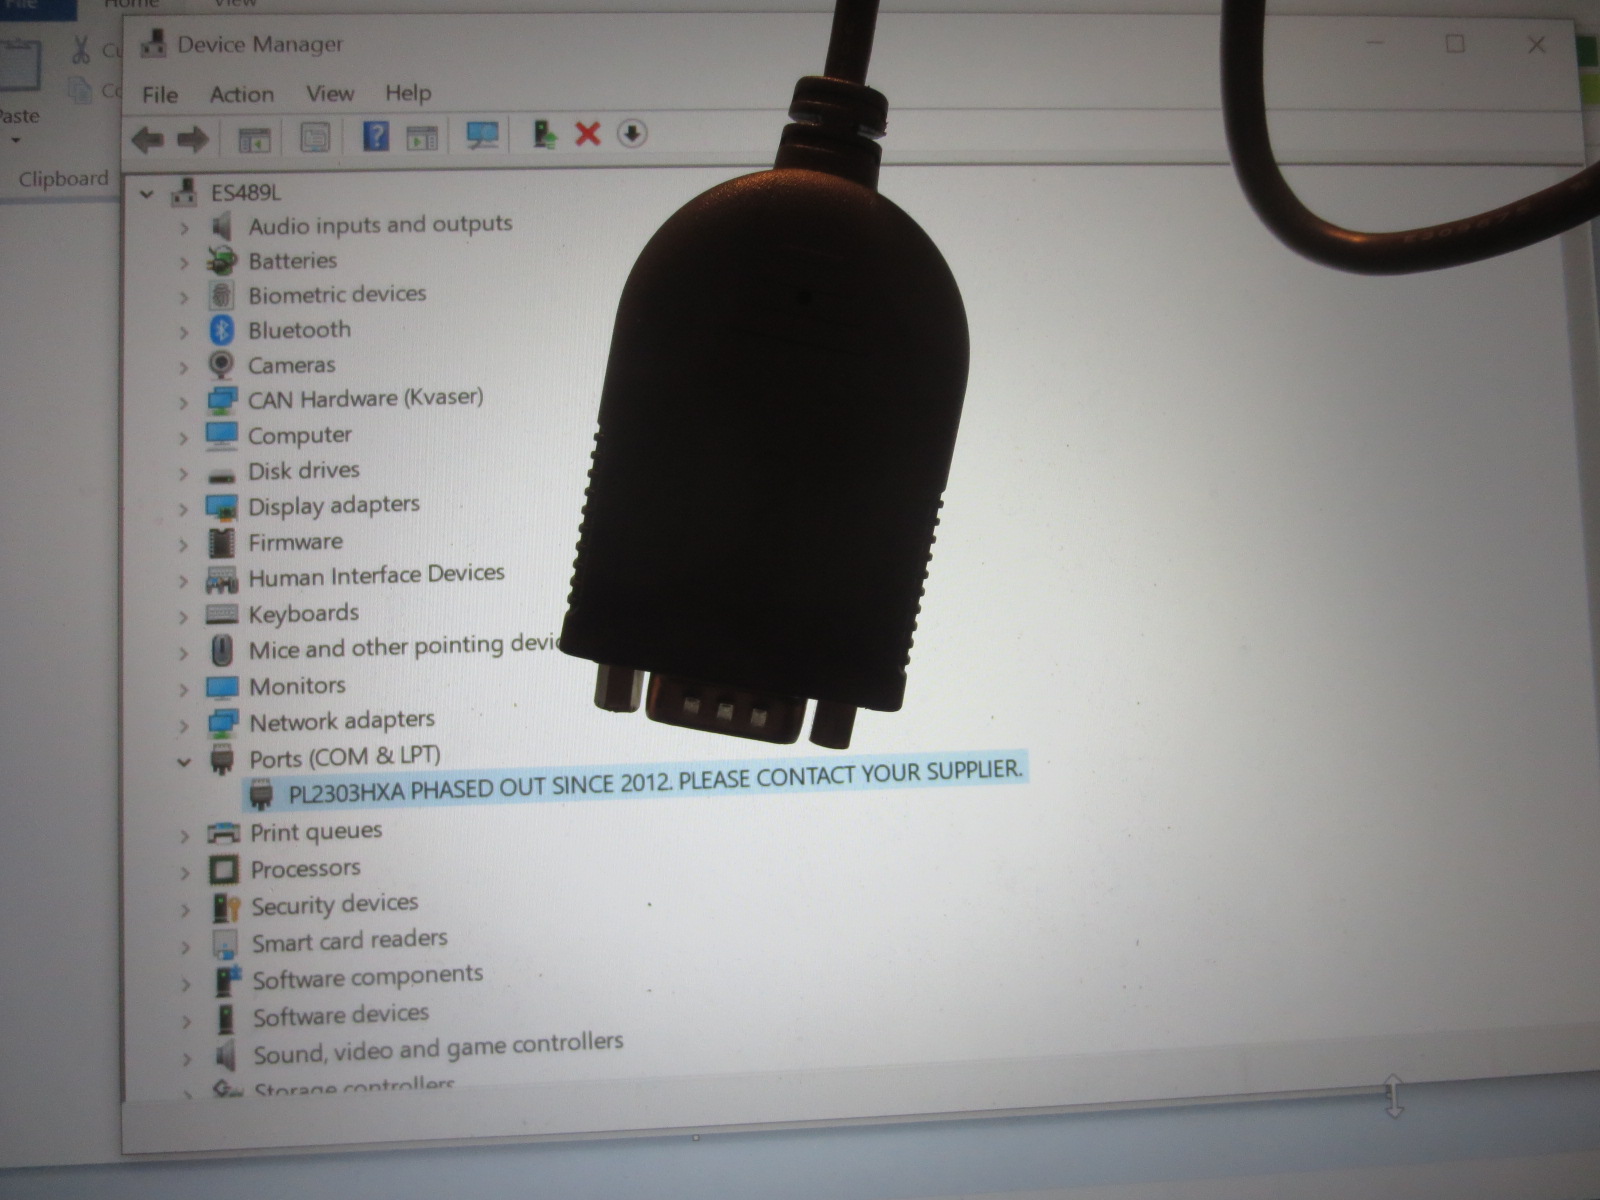
I started to play around with the setup. I had an old USB-to-serial cable with me. I plugged it in to see the familiar “PL2303HXA PHASED OUT SINCE 2012. PLEASE CONTACT YOUR SUPPLIER.” error:
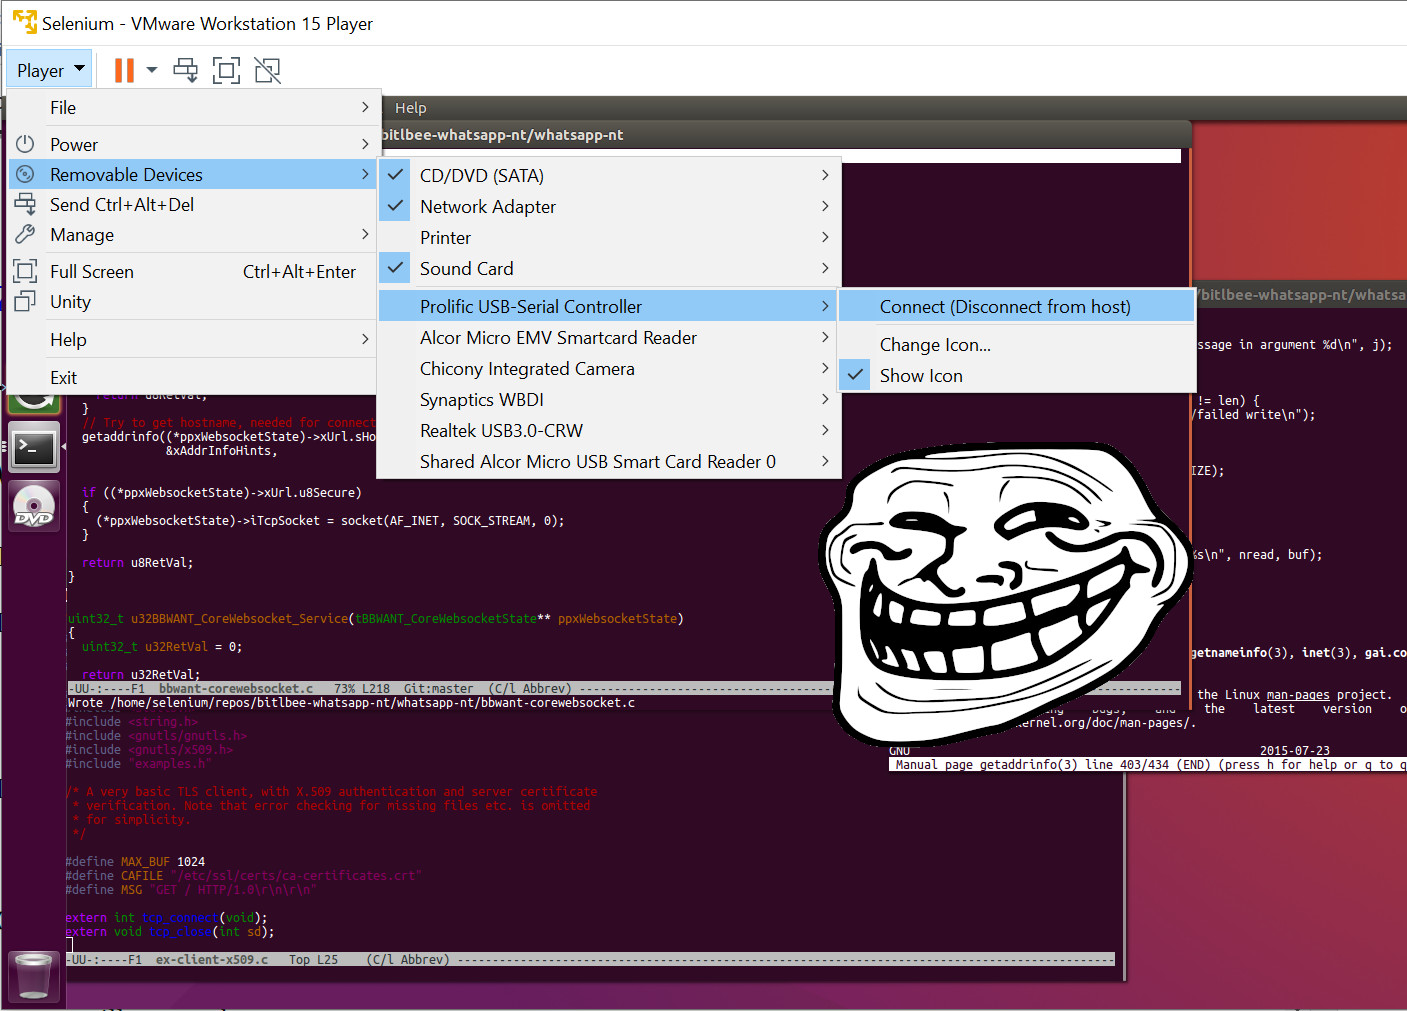
I don’t know if my chip is obsoleted, pirated or both. I don’t really care. But I tried something. I opened VMware Workstation Player and routed the non-working device through to an old Ubuntu installation:
I hooked up pins 2 and 3 for simple loopback test, set permissions and opened Ubuntu Putty. And boom, I was connected:

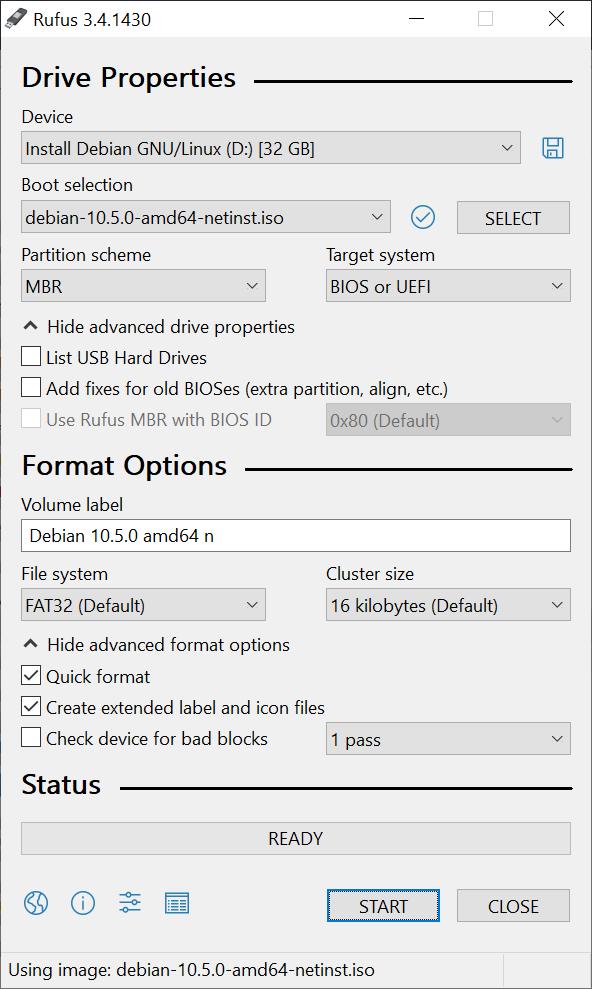
Debian USB stick creation
I had earlier prepared a regular Debian amd64 network installation iso on a USB stick. I did not think it would work but it actually did. I had used Rufus to prepare the stick like this:
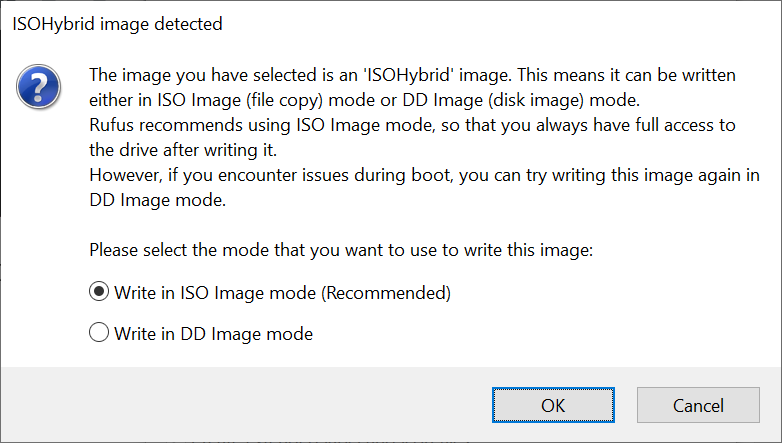
Accepted ISO mode:
Confirmed:
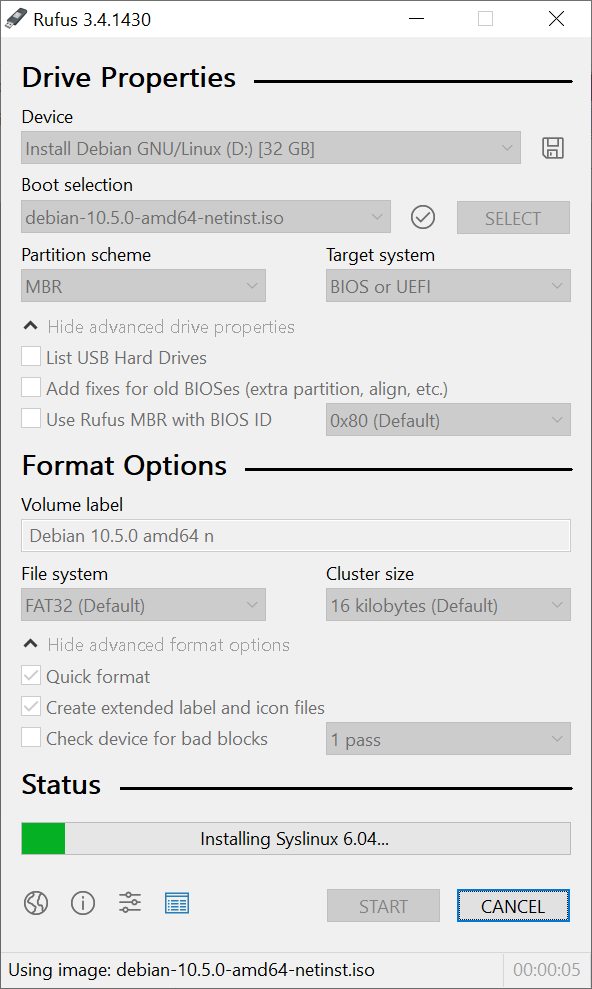
Waited:
And done:

Playing around with APU2E0 system
Next I started to actually play around in the APU2E0 system. I had a problem with my both serial connectors being male, so I needed to wire with jumper cables 2 -> 3, 3 -> 2 and 5 -> 5. I also had my laptop disconnected from charger so there was only one single ground via the APU2 power adaptor. Might have worked with both grounds, but you know, just in case. I also connected the network cable and DC in. Later I also connected the Debian stick, and then the connections looked about this:
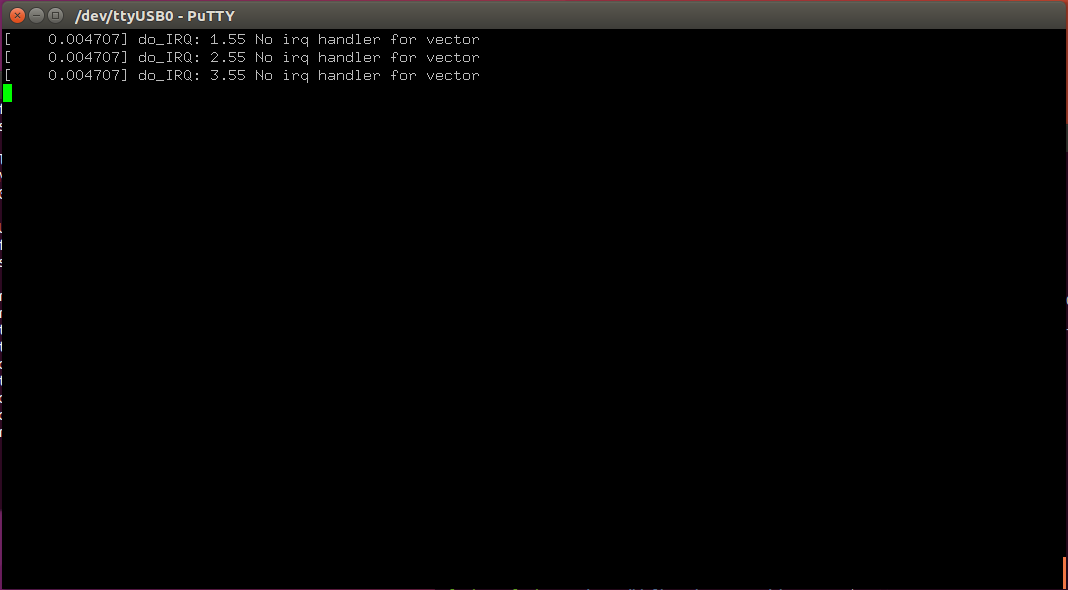
But before I put the stick in I just wanted to see around. To my surprise, the serial cable worked instantly and the APU2E0 started to show this boot loop:

So, very cool progress already. The boot system actually uses coreboot , and not for example UEFI.
Because computer says to press F10 here, I pressed F10. This is the list I got:

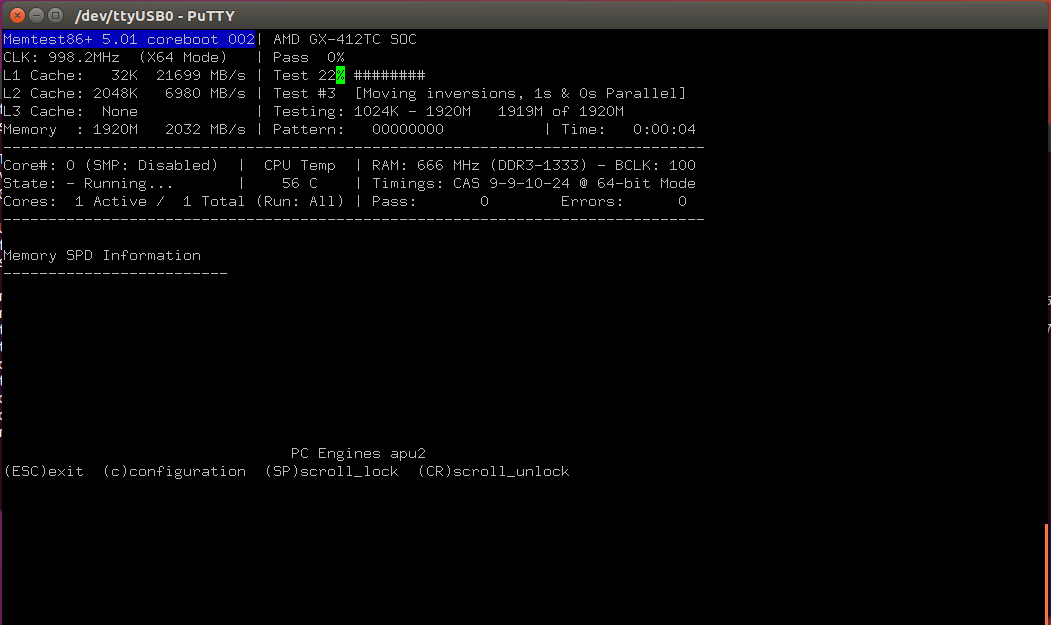
So it lists options to boot SSD, setup or memtest. I tried memtest first for luls. It worked, it is internal memtest application:
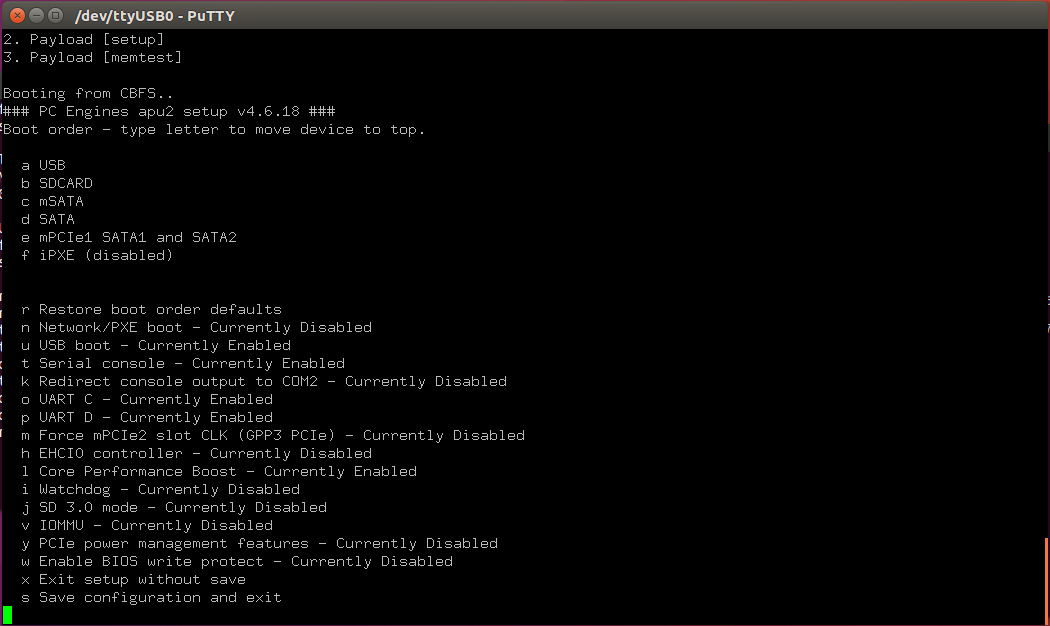
Cool! I tried the setup option also, it gives me kind of BIOS menu:
I did not change anything. I put the Debian USB stick in, rebooted the system (by reconnecting DC input) and prepared to try Debian installation. Which I thought would require esoteric efforts to get going, but it actually didn’t.
Installing Debian 10 amd64 on PC Engines APU2E0
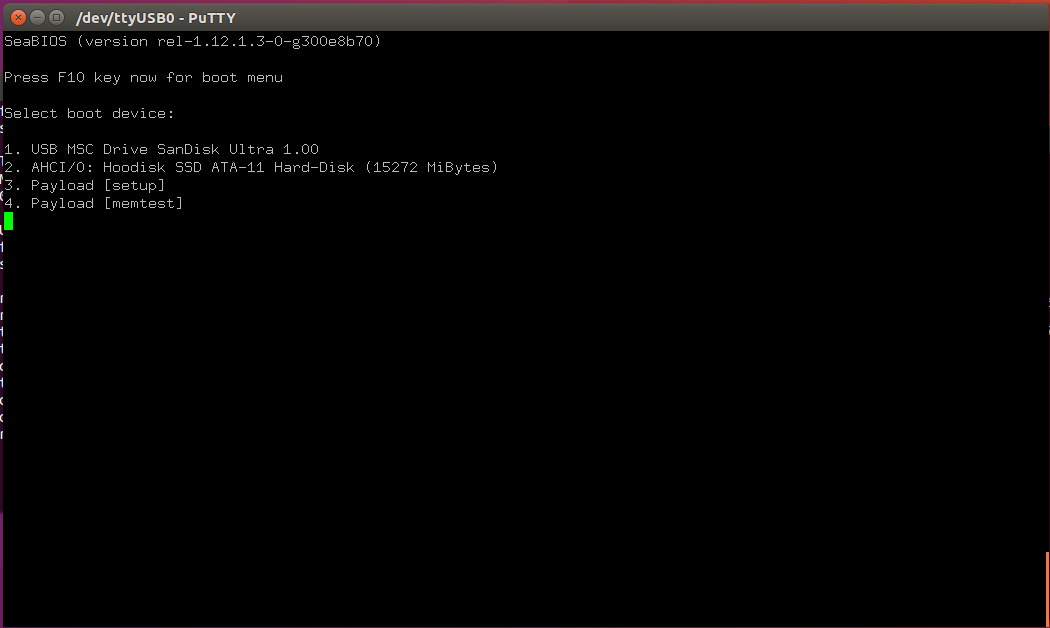
So as told earlier, I put the Debian USB stick to the unit and rebooted it. System detected it on boot:
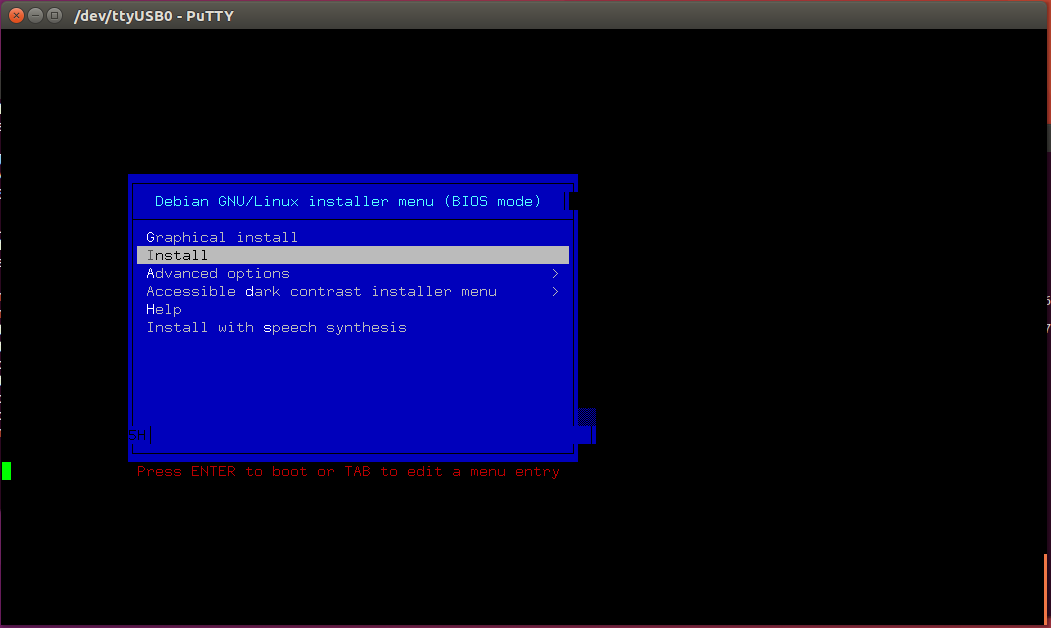
I think I pressed 1. Or Enter. To my surprise, the Debian installer menu was shown:
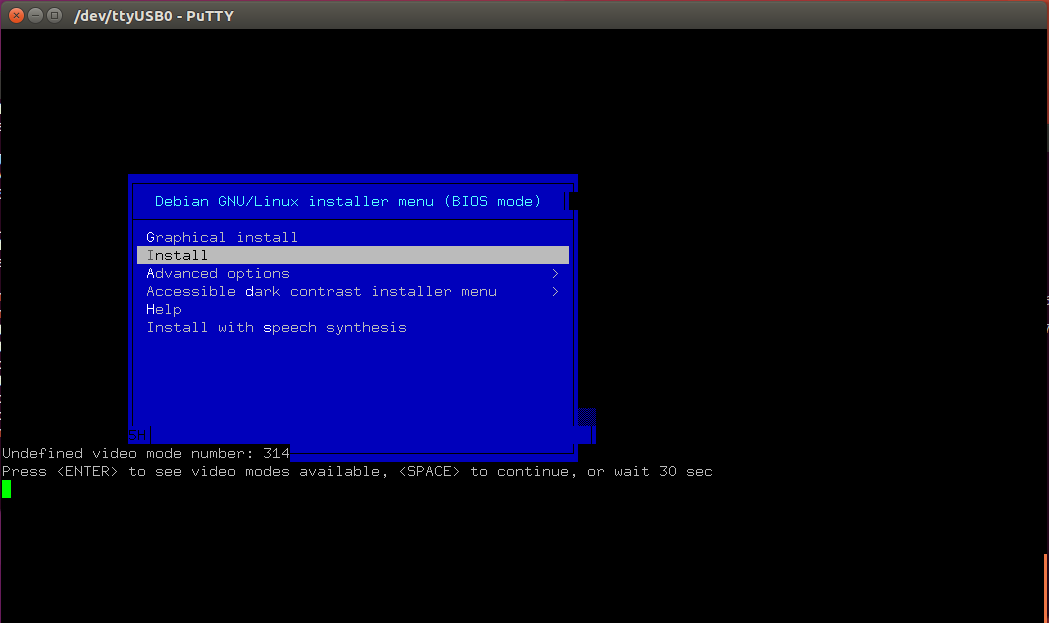
But too bad it said “Undefined video mode number: 314” etc:
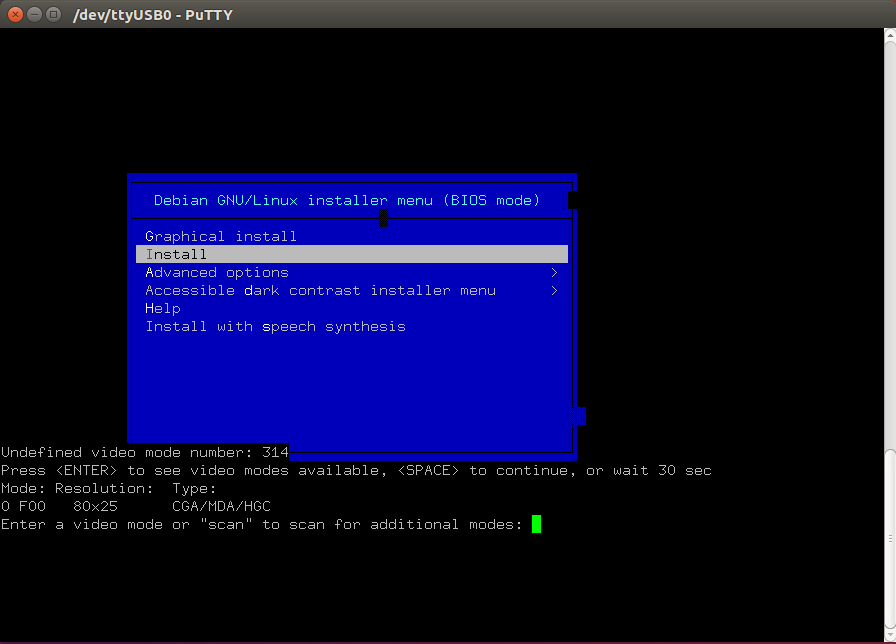
I pressed Enter but the thing hung here:
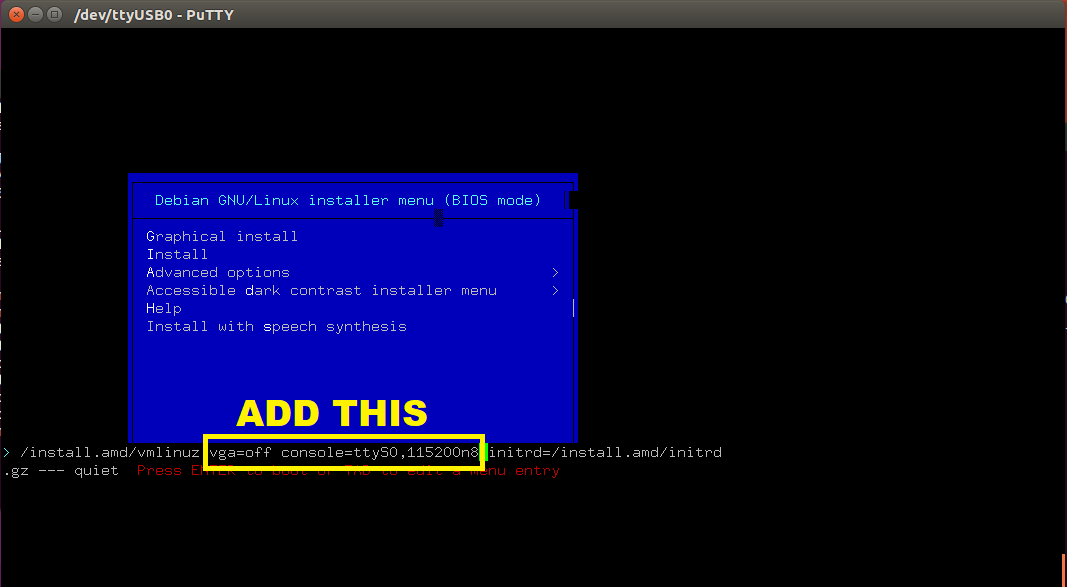
So, I took off the DC cable and put it back in. Back in the Debian installer menu I pressed Tab:

Looked promising. I removed the vga=788 part:
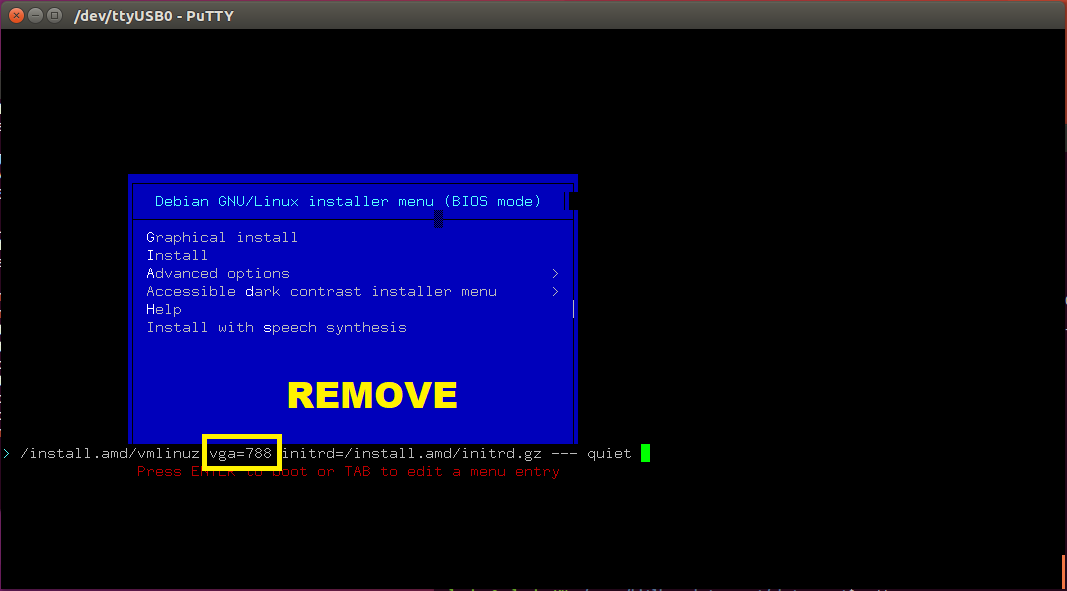
I substituted it with:
vga=off console=ttyS0,115200n8
This was the key to get the system installed. It redirected console to hardware serial device. This is how it was:
After pressing Enter the system started to actually boot:
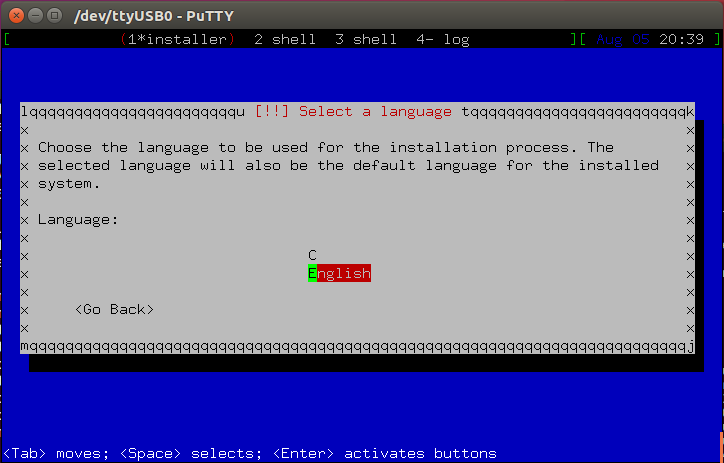
And ta-daa, Debian installer was shown. Throughout the install process there were small “block graphics” glitches here and there, beware. To alleviate confusion I resized the terminal to fit the installer size:
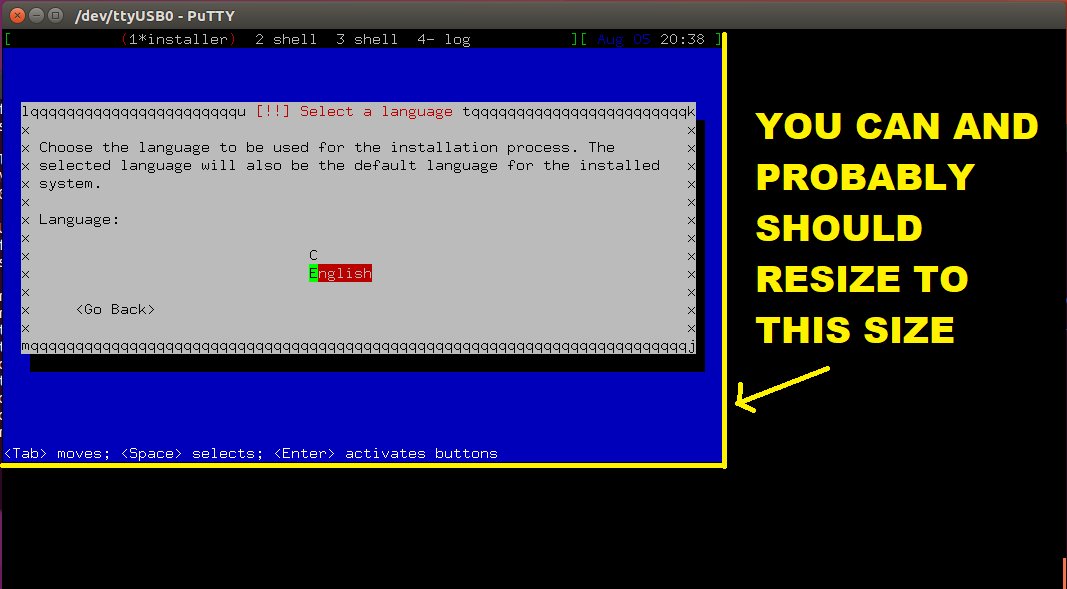
I selected and confirmed English at this point:
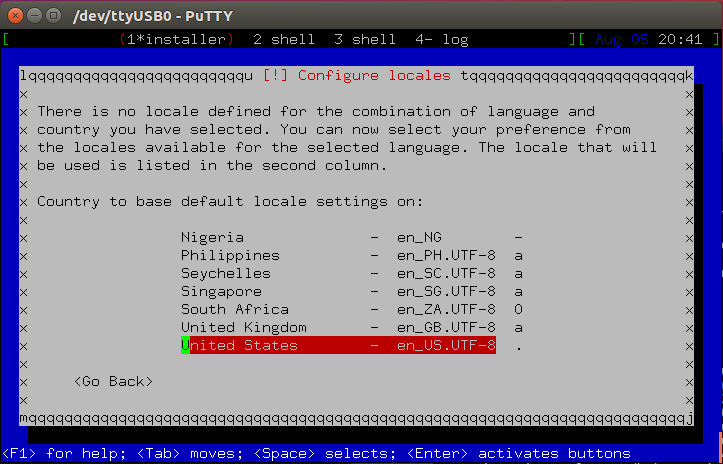
(But later I had to run dpkg-reconfigure locales two times to set locales right.)
As a Finn I wanter Finnish keyboard. I selected other:
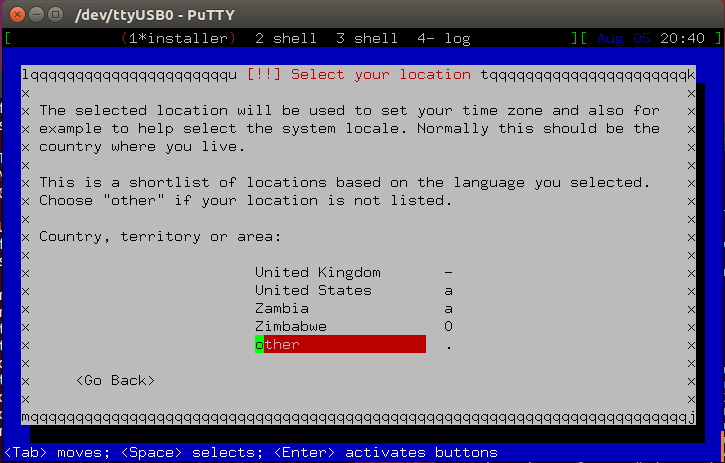
Then Europe:
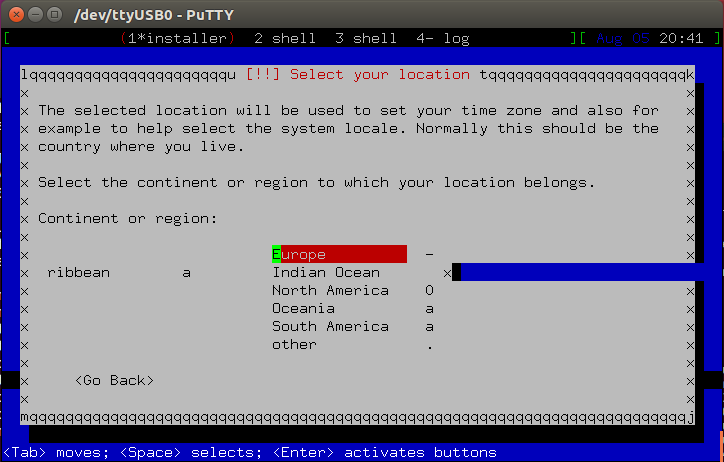
Then Finland:
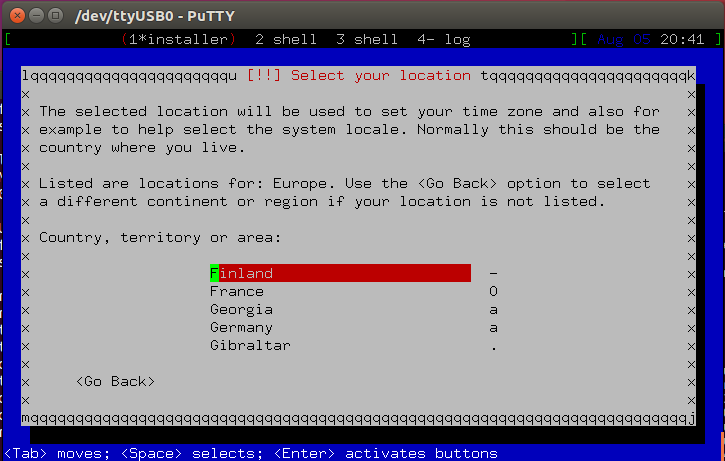
Default localte I elected as en_US.UTF-8 (but as I told earlier, I had to fix this later with dpkg-rconfigure locales . Strange. Anyways see the pic):
Now I got really excited as installer loaded more components:

As you could see, graphical glitches remained.
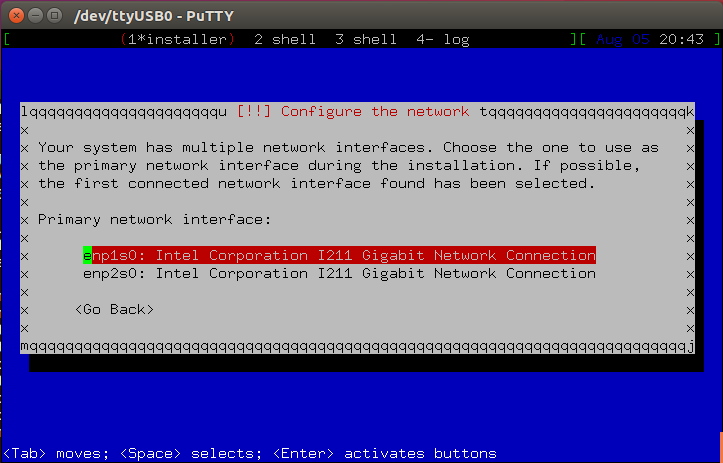
Next was selection of primary network interface. Remember that I put the red WAN cable to first socket from the right? Guess what, it is actually mapped as the first interface enp1s0, it turns out. Cool! Is it by design or just a happy accident?
Naturally I selected enp1s0 here:
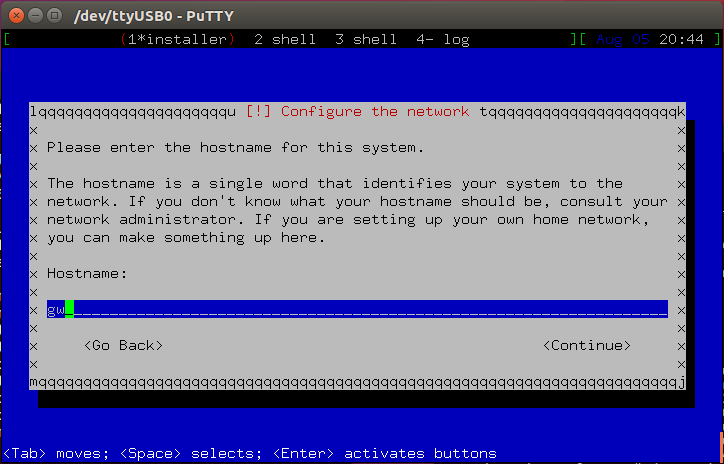
I made new gateway, so I selected appropriate host name:
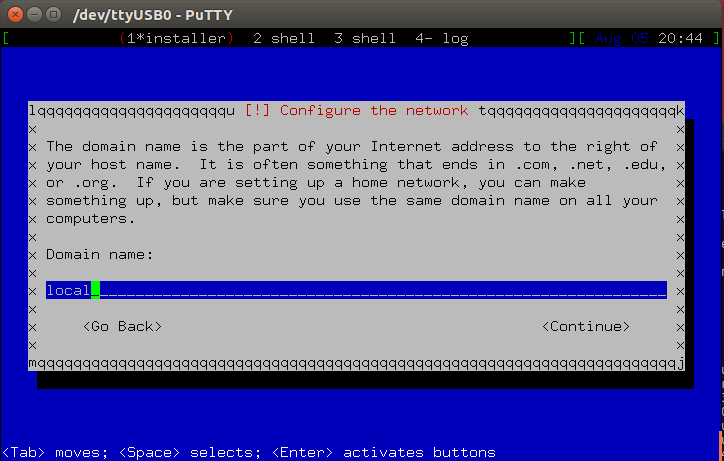
local was fine for domain:
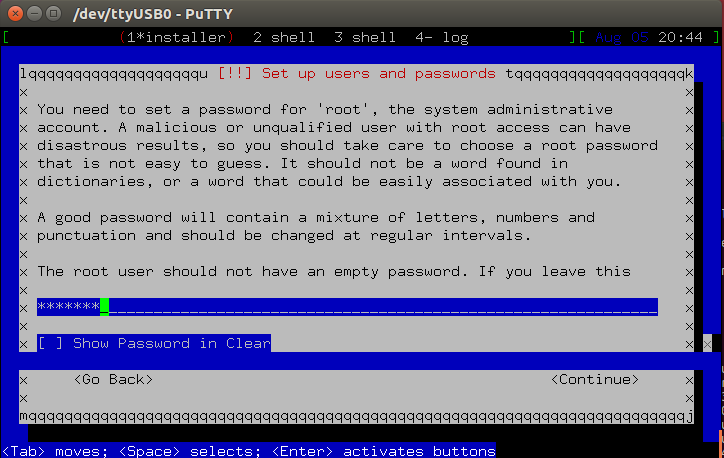
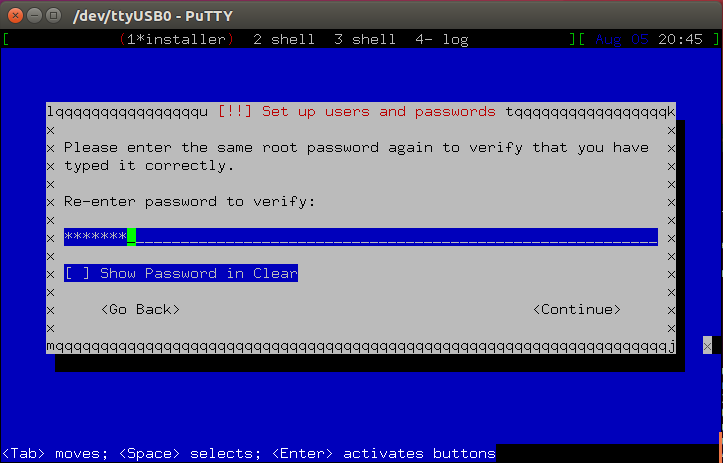
Root password and confirmation:
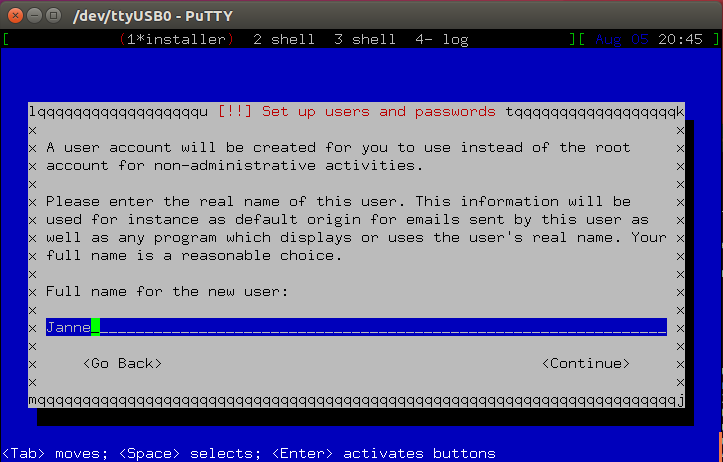
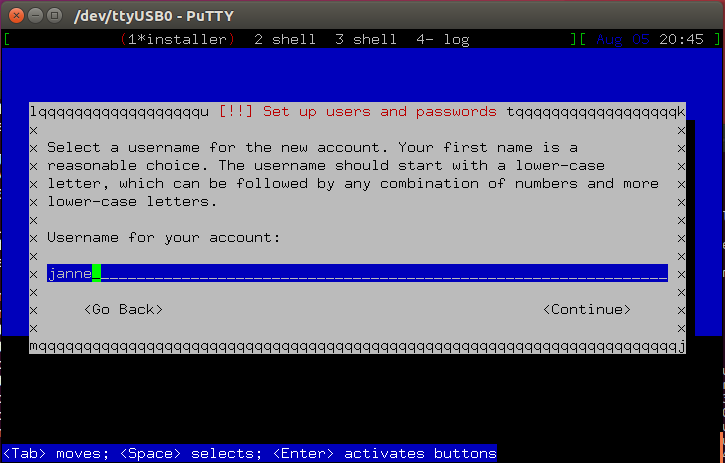
Next, new ordinary user creation:
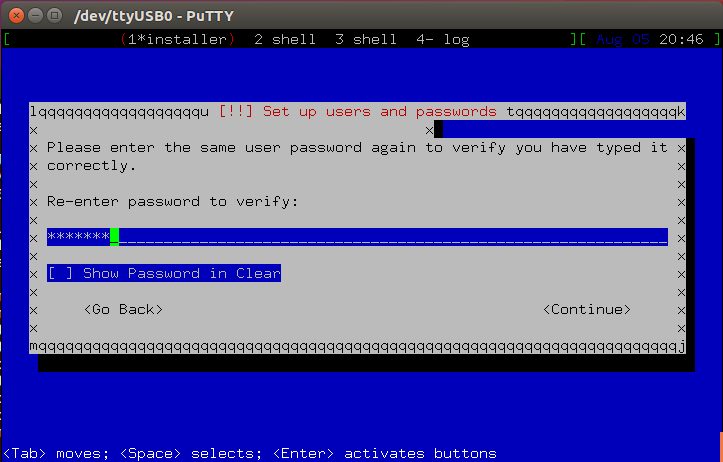
And his passwords:

 Remember, Debian does not use sudo by default. So, the usual remote management option is to ssh as normal user and then run
su - root
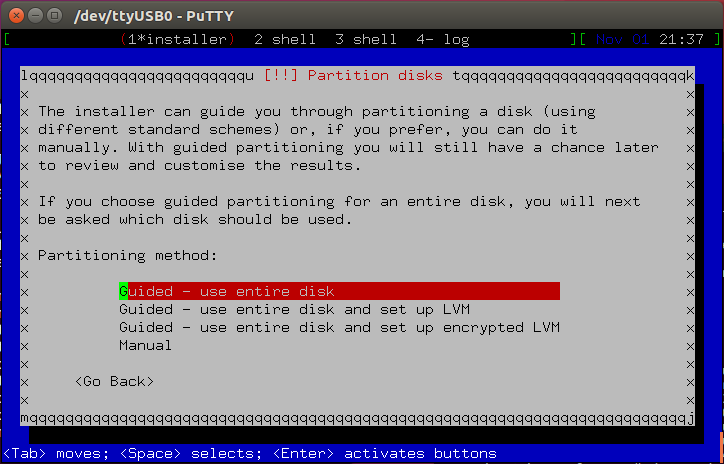
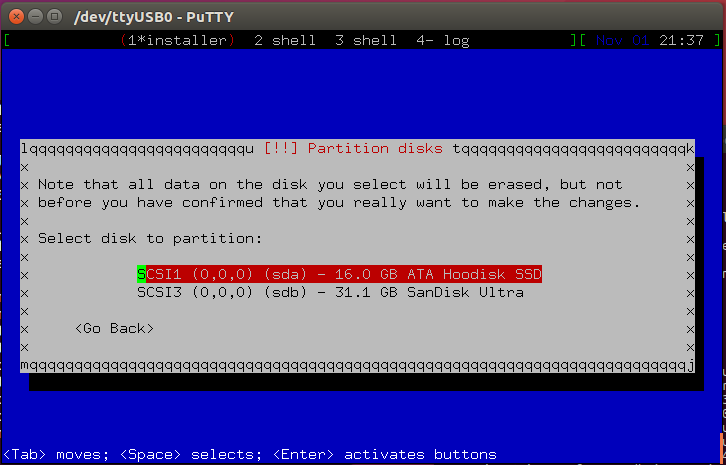
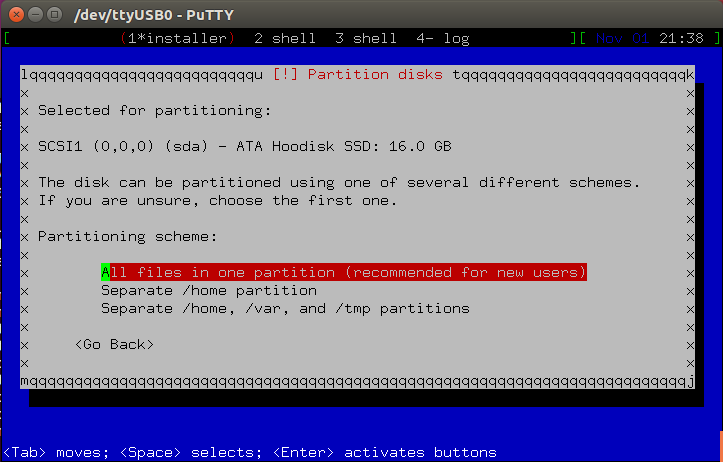
Next up was disk partitioning. I took the easiest route and selected guided partitioning of entire disk:
I selected the correct disk:
And simplest scheme, being all files in one partition:
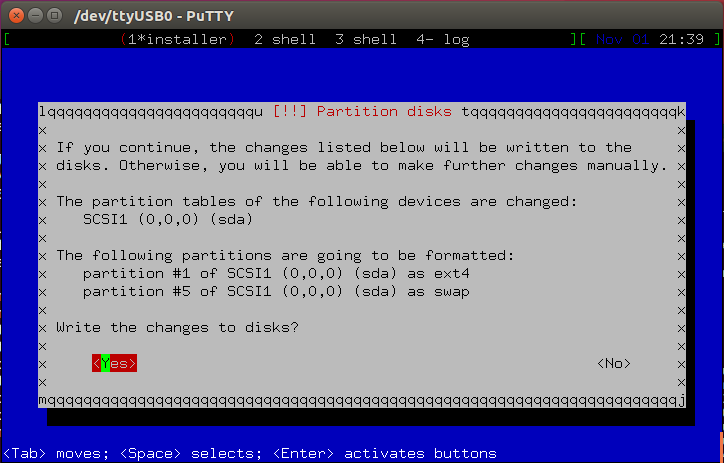
I finally confirmed changes:
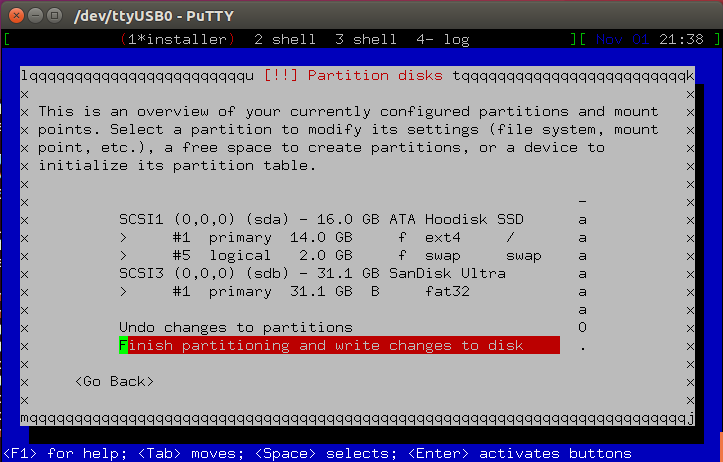
And confirmed again:
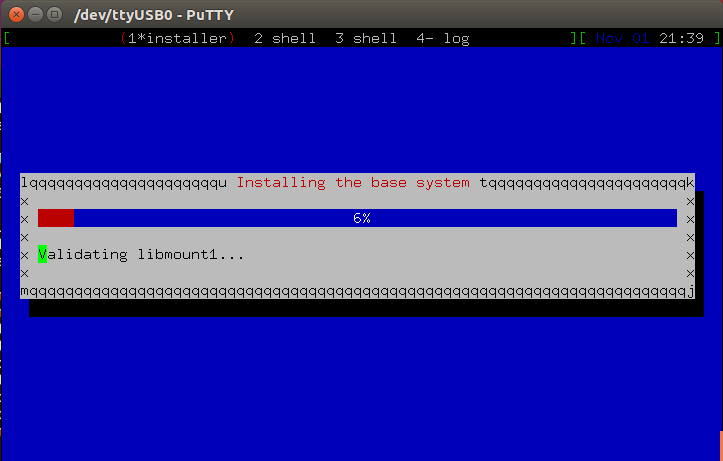
Next, the installer installed base system:
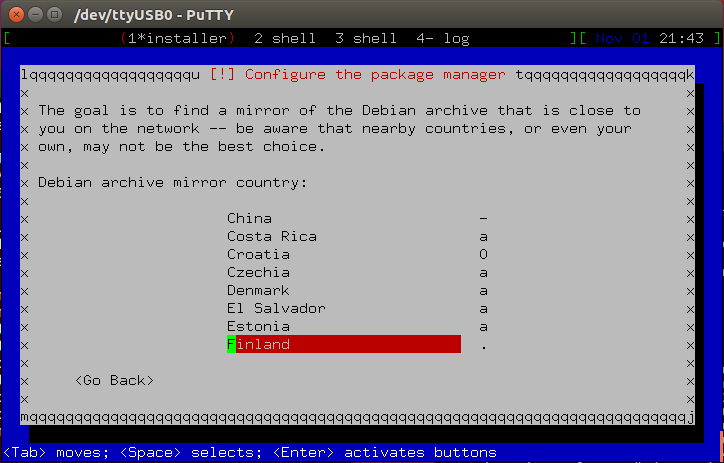
After base system installation it was time for rest of the packages. I wanted Finnish mirror of course:
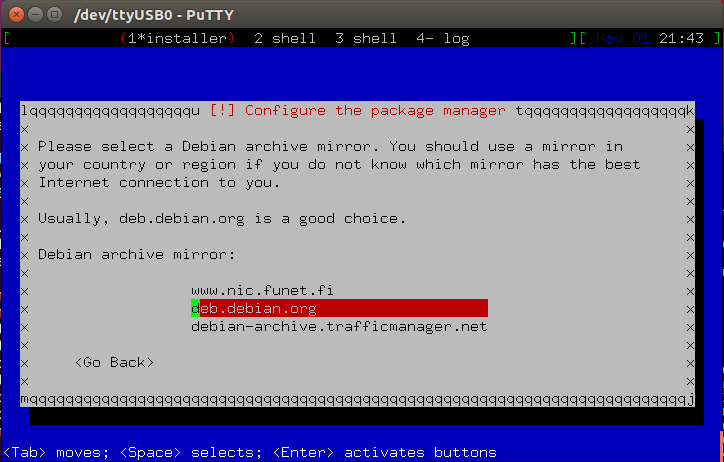
Then I chose default option deb.debian.org . Now that I think I wonder of it was closest? Maybe it was some kind of geo-based automatic DNS thing. Here’s the pic:
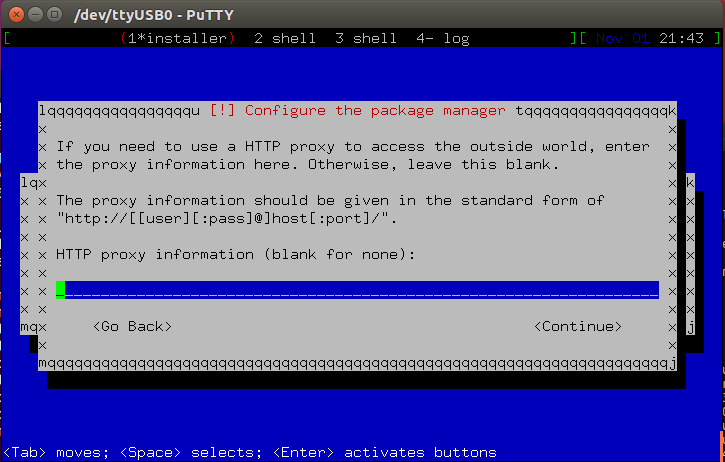
No proxy needed for me:
I never install popularity-contest, and not now either:

I got presented with the software selection screen next: I took everything away..
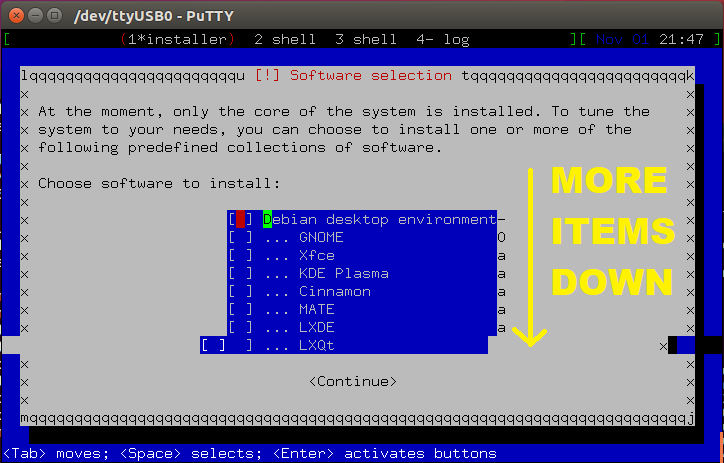
And scrolled down. Left only “SSH server” and “Standard system utilities”:

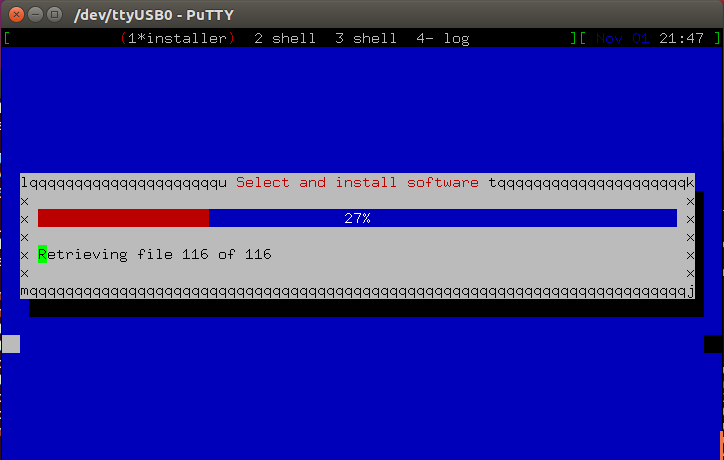
Finally, actual installer installed rest of packages:
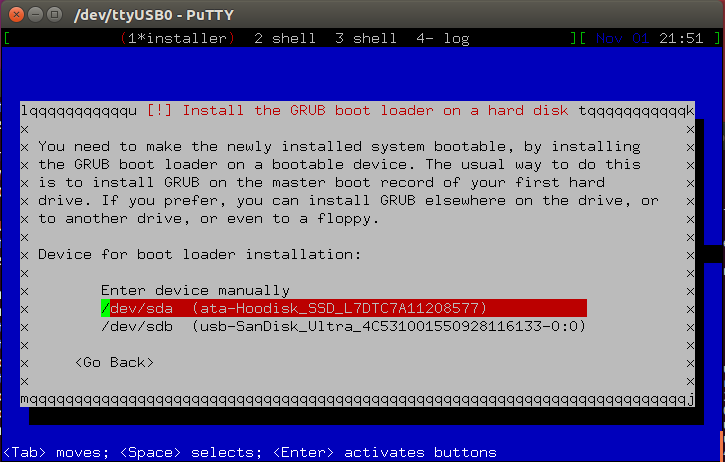
Grub asked for help, MBR was fine here:
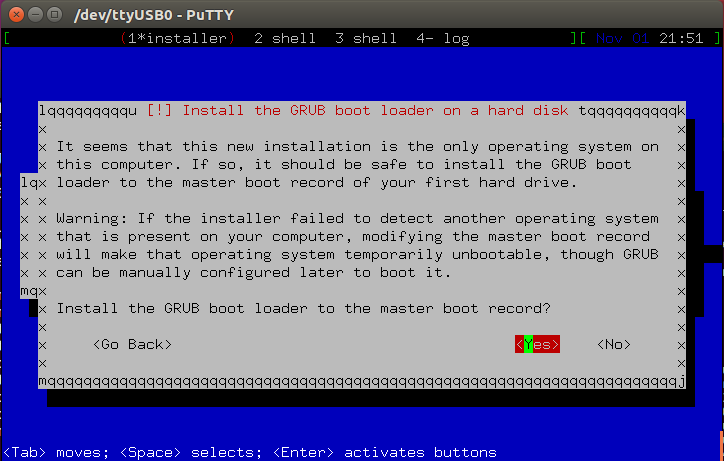
I just needed to select the device from list. /dev/sda it was:
Finally it was running some finishing touches:

And installation complete! I removed the stick and confirmed Continue to reboot:

Woohoo, installed Debian!
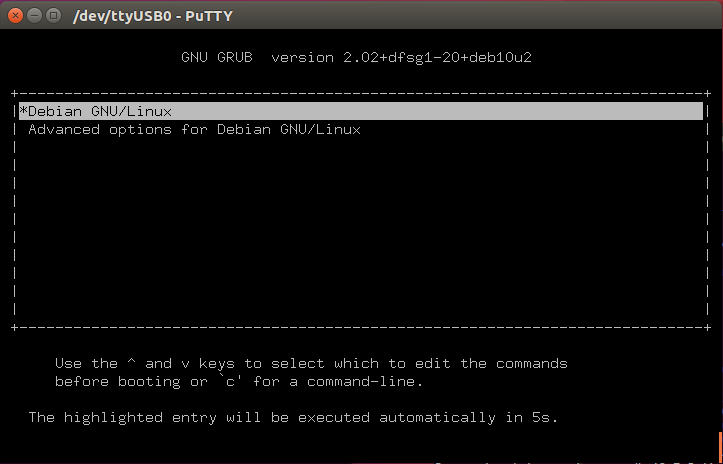
But damn, it hanged:
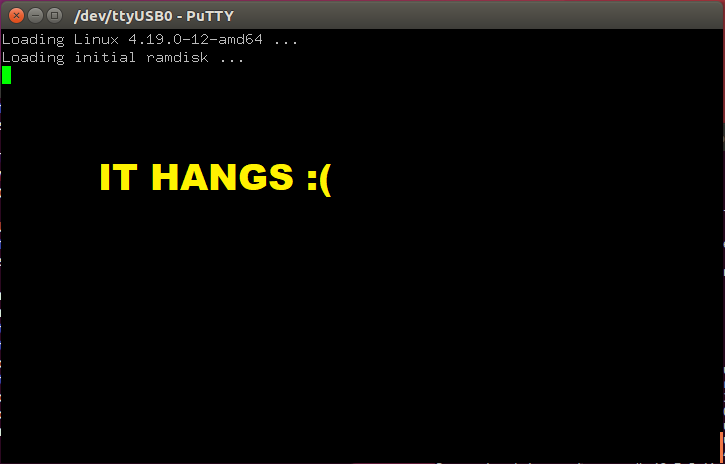
Wait, remember the earlier problem we needed to edit boot params? Lets try it again. So I pressed e:
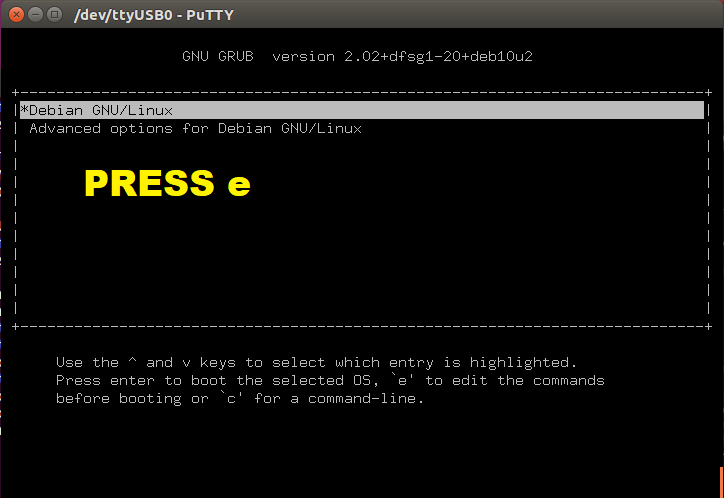
Then I went to the entry showing quiet :
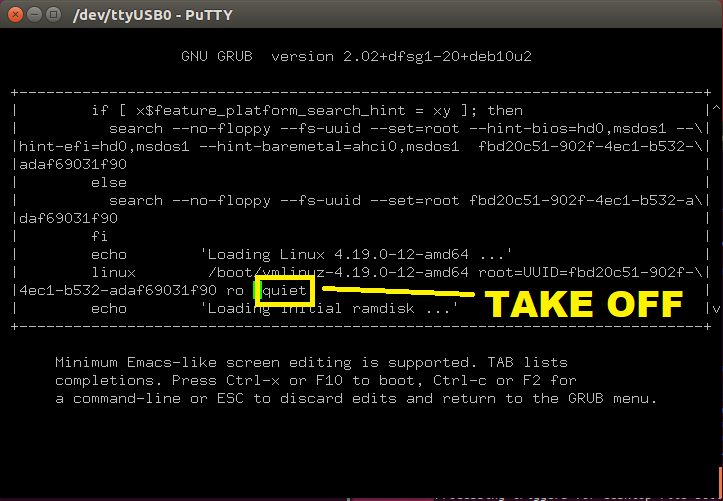
I replaced quiet with
console=ttyS0,115200n8
And pressed F10 (or CTRL-x) to boot:
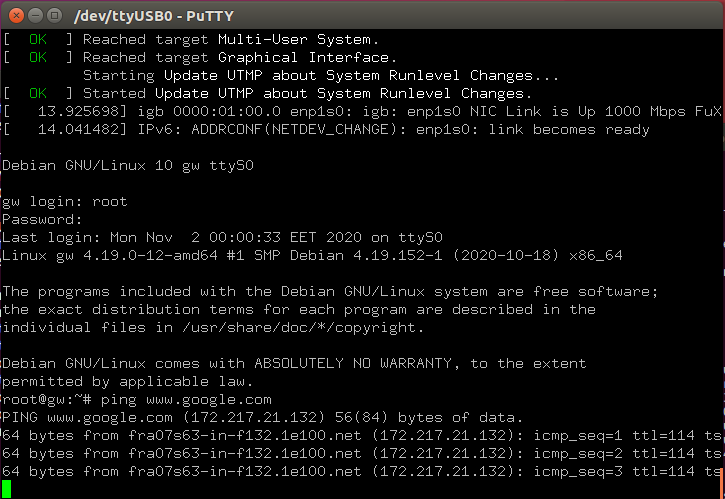
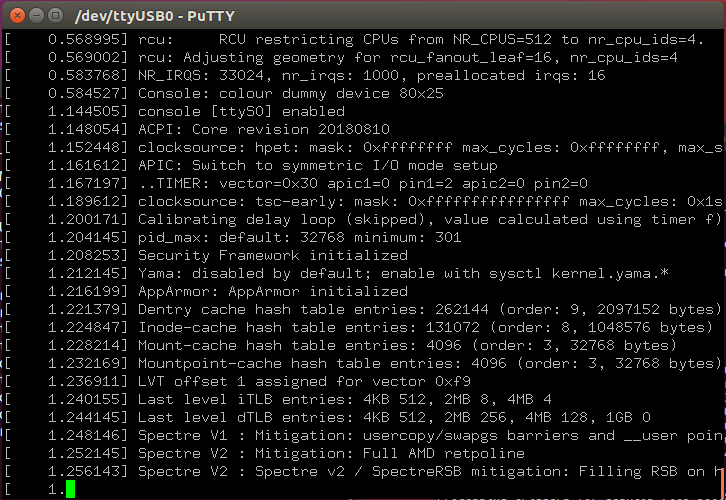
And boom, it booted:
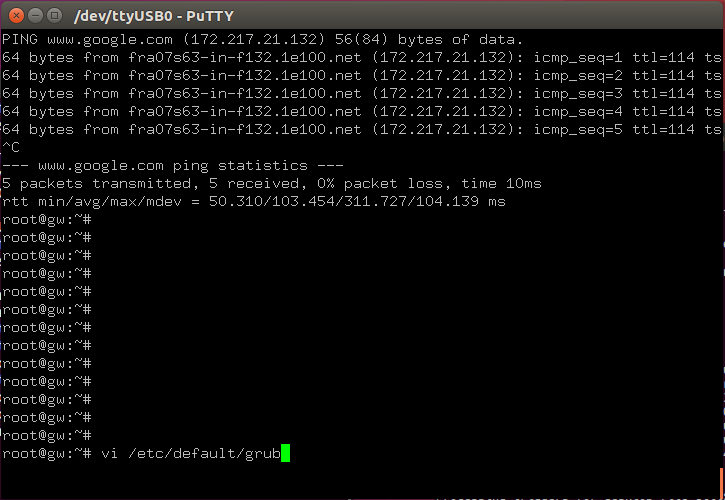
I tested pinging google first, it worked:
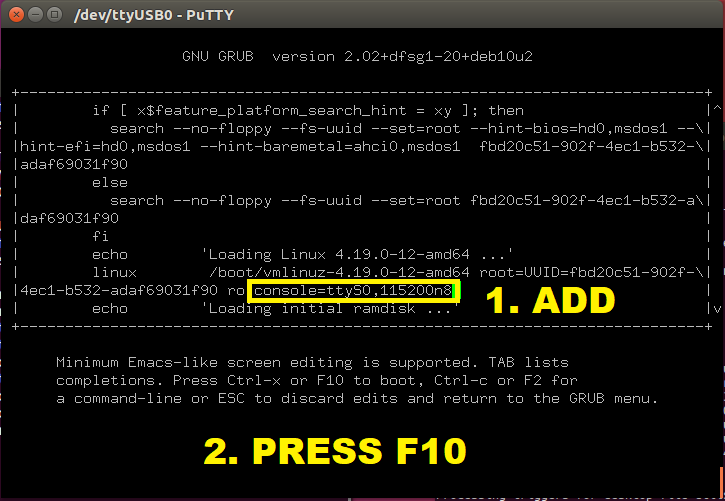
We needed to make our change permanent so we would not need to type it manually on every boot, so I edited /etc/default/grub :
I removed quiet again:
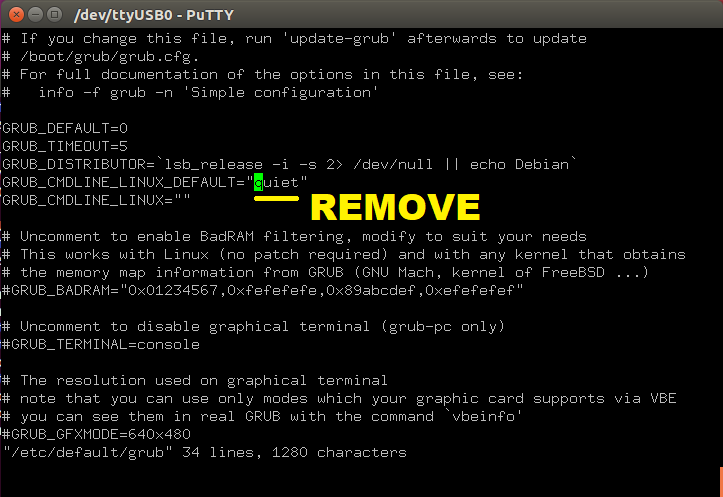
And replaced it with:
console=ttyS0,115200n8
as can be seen:
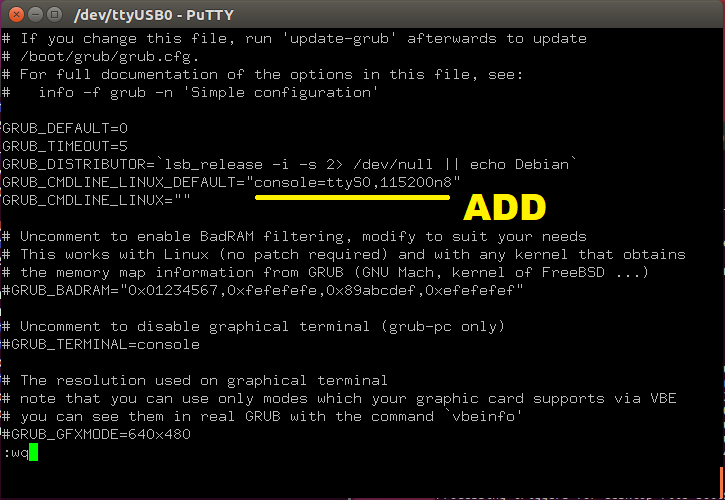
Then, to get changes in I ran update-grub :

And finally issued reboot:
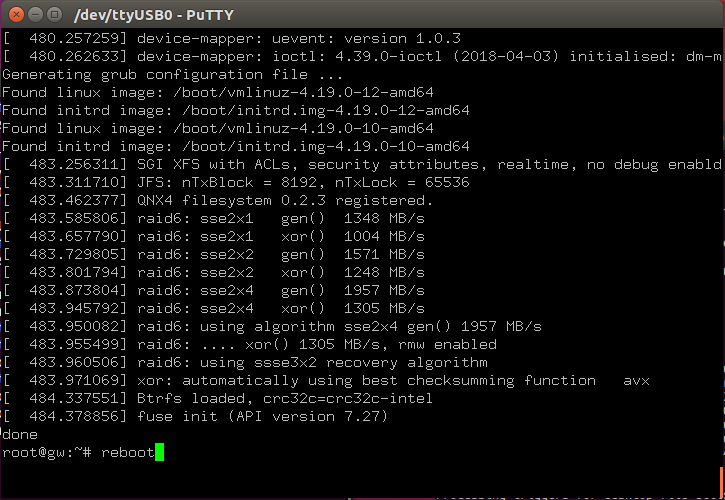
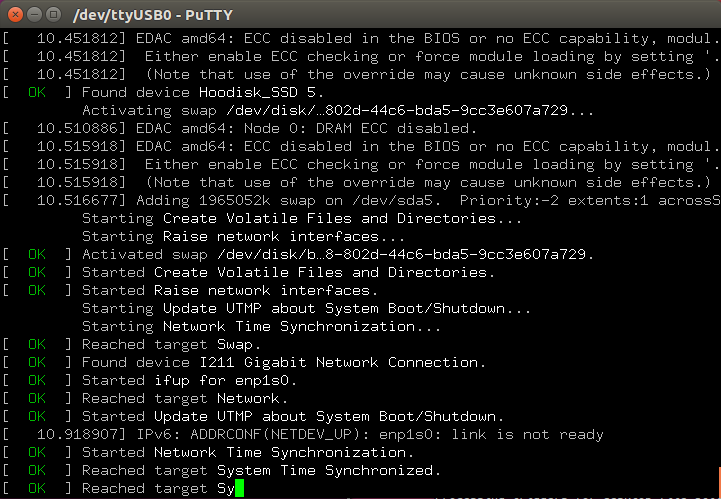
Another success, the system was now able to show boot process autonomoysly:
This kind of conluded our core installation of Debian. Next chapter has some important next steps
Additional steps after installation
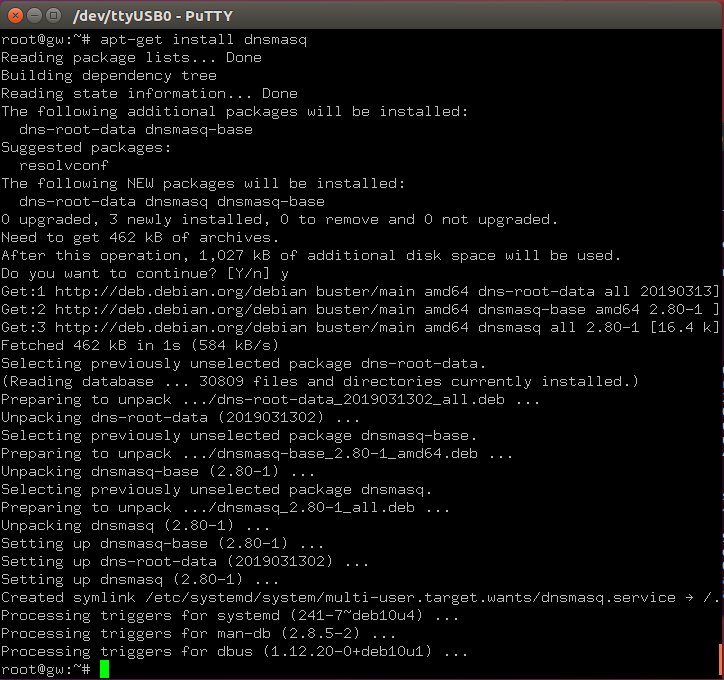
Installing dnsmasq for LAN
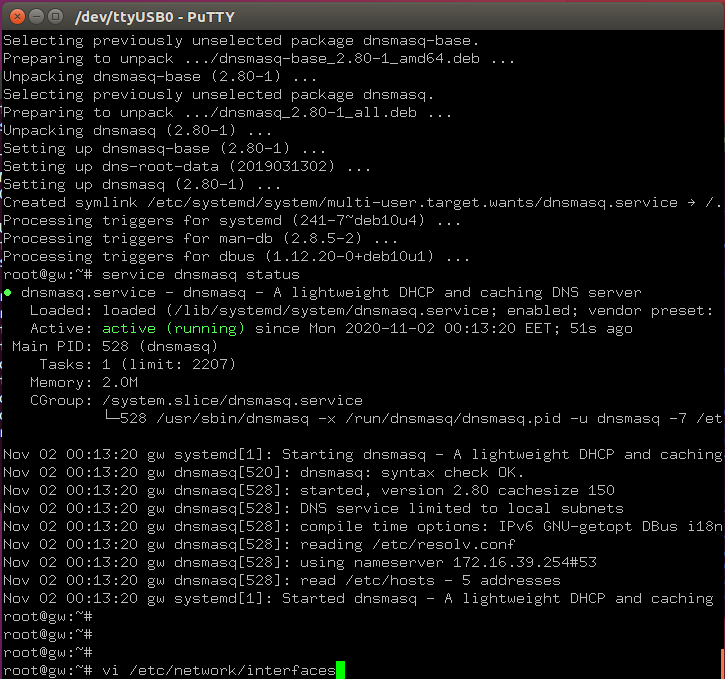
I wanted the box to act as LAN dhcp server, so better to install dnsmasq :
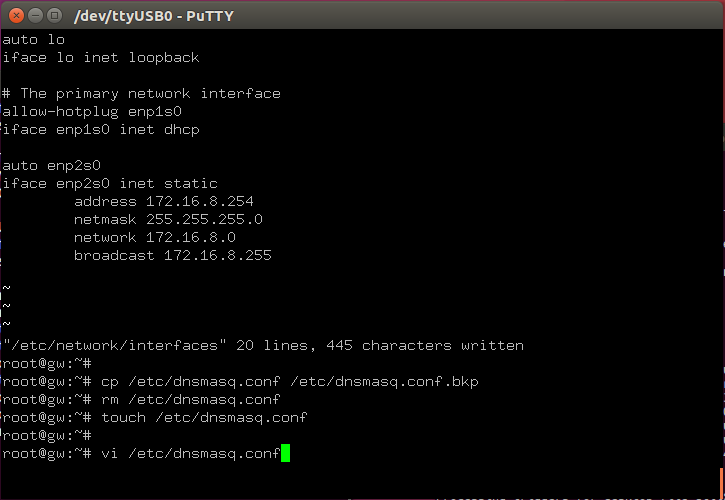
I confirmed it was running and then opened editor for /etc/network/interfaces :
I created for LAN an IP from private range:

Next I edited dnsmasq config file at /etc/dnsmasq.conf :
The file is huge by default. This is what was actually needed:
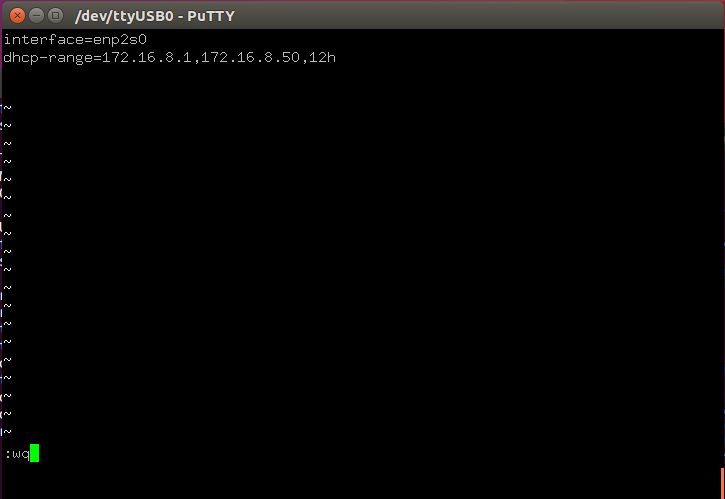
So in text form these:
interface=enp2s0
dhcp-range=172.16.8.1,172.16.8.50,12h
I rebooted:
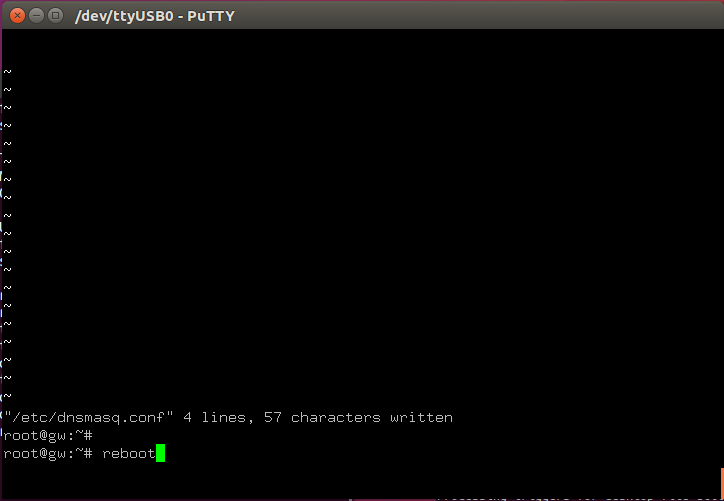
I put my laptop with LAN cable to the enp2s0 port and tried connecting:
Cool, there was connection:
I logged in and confirmed everything was working:
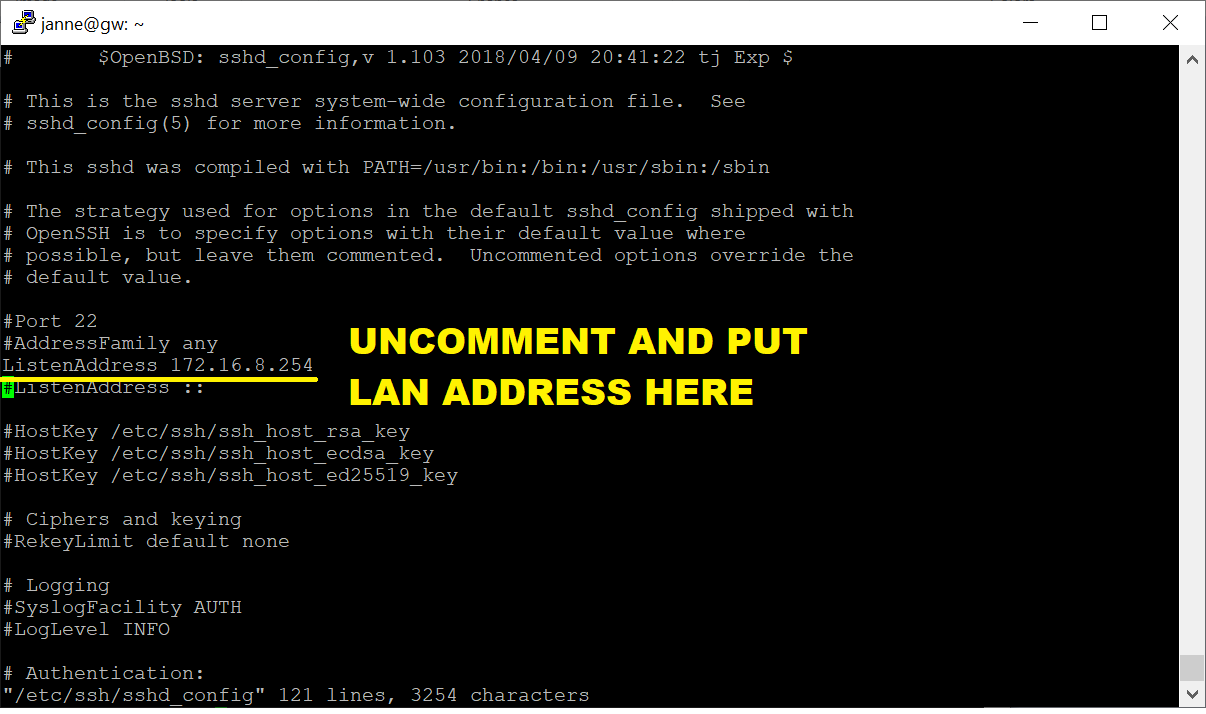
Disabling SSH from WAN
I next set to disable SSH from WAN. I edited the config file /etc/ssh/sshd_config :
I uncommented the ListenAddress directive and added the LAN IP:
And again I rebooted:
SSH got closed from WAN.
Simple NAT with systemd (experimental!)
To work as an actual gateway, forwarding stuff from LAN to Internet when needed, the forward and NAT functionality was needed. As everyone and their dog is converting to systemd, I made a systemd service file one could use. NOTE: I HAVE NOT TESTED THIS! Why? Because I use more complicated script setup myself.
Anyways, the NAT thingy is available as Github Gist:.
https://gist.github.com/usvi/022bdbf2a9bfba14f20b75e5af961249
Or RAW:
https://gist.githubusercontent.com/usvi/022bdbf2a9bfba14f20b75e5af961249/raw/simple-nat.service
And as text form:
[Unit]
# Put this file as (chmod 644) /etc/systemd/system/simple-nat.service
# Then systemctl start simple-nat
# Finally systemctl enable simple-nat
# Reboot to see it works
# Public if = enp1s0
# Private if = enp2s0
Description=Simple NAT
Before=network-pre.target
Wants=network-pre.target

[Service]
Type=oneshot
#
# Enable forwarding
ExecStart=/usr/bin/echo 1 > /proc/sys/net/ipv4/ip_forward
#
# Flush existing just in case
ExecStart=/sbin/iptables -F
ExecStart=/sbin/iptables -X
ExecStart=/sbin/iptables -t nat -F
ExecStart=/sbin/iptables -t nat -X
#
# Drop everything by default
ExecStart=/sbin/iptables -P INPUT DROP
ExecStart=/sbin/iptables -P FORWARD DROP
#
# Allow outputs
ExecStart=/sbin/iptables -P OUTPUT ACCEPT
#
# Allow all on localhost
ExecStart=/sbin/iptables -A INPUT -i lo -j ACCEPT
#
# Allow local network
ExecStart=/sbin/iptables -A INPUT -i enp2s0 -j ACCEPT
ExecStart=/sbin/iptables -A FORWARD -i enp2s0 -o enp1s0 -j ACCEPT
#
# Allow connections out via default gateway
ExecStart=/sbin/iptables -t nat -A POSTROUTING -o enp1s0 -j MASQUERADE
ExecStart=/sbin/iptables -A FORWARD -i enp1s0 -o enp2s0 -m state --state RELATED,ESTABLISHED -j ACCEPT
ExecStart=/sbin/iptables -A INPUT -i enp1s0 -m state --state RELATED,ESTABLISHED -j ACCEPT
#
TimeoutStartSec=0

[Install]
WantedBy=network.target
Put the file to /etc/systemd/system/simple-nat.service with permissions 644, then issue
systemctl start simple-nat.service
systemctl enable simple-nat.service
In theory that SHOULD do it. But I cannot currently test it because it would mess up my perfectly running system 😀
Speedtest on 250M line and rudimentary system information
On my new shiny PC Engines APU2E0 Debian 10 installation I ran speedtest and gathered some information about the internals.
First the speedtest on my 250 Mbps line:
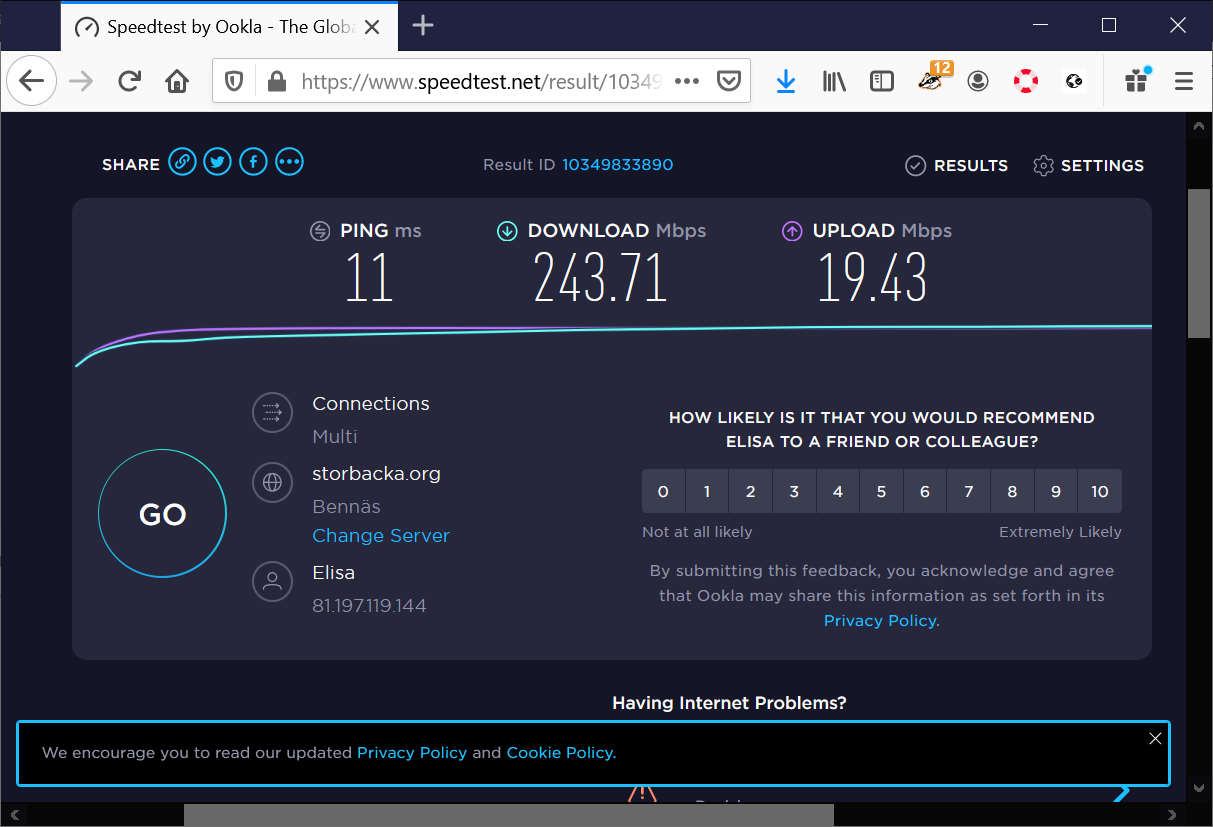
So, 243 Mbps / 250 Mbps. Practically throughput is 100%. I need to test with my fiber when it arrives.
I gathered also system information from the installation.
cat /proc/cpuinfo :
processor : 0(-3)
vendor_id : AuthenticAMD
cpu family : 22
model : 48
model name : AMD GX-412TC SOC
stepping : 1
microcode : 0x7030105
cpu MHz : 596.541
cache size : 2048 KB
physical id : 0
siblings : 4
core id : 0
cpu cores : 4
apicid : 0
initial apicid : 0
fpu : yes
fpu_exception : yes
cpuid level : 13
wp : yes
flags : fpu vme de pse tsc msr pae mce cx8 apic sep mtrr pge mca cmov pat pse36 clflush mmx fxsr sse sse2 ht syscall nx mmxext fxsr_opt pdpe1gb rdtscp lm constant_tsc rep_good acc_power nopl nonstop_tsc cpuid extd_apicid aperfmperf pni pclmulqdq monitor ssse3 cx16 sse4_1 sse4_2 movbe popcnt aes xsave avx f16c lahf_lm cmp_legacy svm extapic cr8_legacy abm sse4a misalignsse 3dnowprefetch osvw ibs skinit wdt topoext perfctr_nb bpext ptsc perfctr_llc cpb hw_pstate ssbd vmmcall bmi1 xsaveopt arat npt lbrv svm_lock nrip_save tsc_scale flushbyasid decodeassists pausefilter pfthreshold overflow_recov
bugs : fxsave_leak sysret_ss_attrs null_seg spectre_v1 spectre_v2 spec_store_bypass
bogomips : 1996.10
TLB size : 1024 4K pages
clflush size : 64
cache_alignment : 64
address sizes : 40 bits physical, 48 bits virtual
power management: ts ttp tm 100mhzsteps hwpstate cpb acc_power [13]
cat /proc/meminfo :
MemTotal: 1913816 kB
MemFree: 1675660 kB
MemAvailable: 1691160 kB
Buffers: 14696 kB
Cached: 124048 kB
SwapCached: 0 kB
Active: 75824 kB
Inactive: 81340 kB
Active(anon): 18628 kB
Inactive(anon): 5108 kB
Active(file): 57196 kB
Inactive(file): 76232 kB
Unevictable: 0 kB
Mlocked: 0 kB
SwapTotal: 1965052 kB
SwapFree: 1965052 kB
Dirty: 0 kB
Writeback: 0 kB
AnonPages: 18472 kB
Mapped: 20836 kB
Shmem: 5320 kB
Slab: 54448 kB
SReclaimable: 26384 kB
SUnreclaim: 28064 kB
KernelStack: 1616 kB
PageTables: 1004 kB
NFS_Unstable: 0 kB
Bounce: 0 kB
WritebackTmp: 0 kB
CommitLimit: 2921960 kB
Committed_AS: 105152 kB
VmallocTotal: 34359738367 kB
VmallocUsed: 0 kB
VmallocChunk: 0 kB
Percpu: 1200 kB
HardwareCorrupted: 0 kB
AnonHugePages: 0 kB
ShmemHugePages: 0 kB
ShmemPmdMapped: 0 kB
HugePages_Total: 0
HugePages_Free: 0
HugePages_Rsvd: 0
HugePages_Surp: 0
Hugepagesize: 2048 kB
Hugetlb: 0 kB
DirectMap4k: 67580 kB
DirectMap2M: 1898496 kB
DirectMap1G: 0 kB
uname -a :
Linux gw 4.19.0-12-amd64 #1 SMP Debian 4.19.152-1 (2020-10-18) x86_64 GNU/Linux
lspci :
00:00.0 Host bridge: Advanced Micro Devices, Inc. [AMD] Family 16h (Models 30h-3fh) Processor Root Complex
00:00.2 IOMMU: Advanced Micro Devices, Inc. [AMD] Mullins IOMMU
00:02.0 Host bridge: Advanced Micro Devices, Inc. [AMD] Family 16h (Models 30h-3fh) Host Bridge
00:02.2 PCI bridge: Advanced Micro Devices, Inc. [AMD] Family 16h Processor Functions 5:1
00:02.4 PCI bridge: Advanced Micro Devices, Inc. [AMD] Family 16h Processor Functions 5:1
00:08.0 Encryption controller: Advanced Micro Devices, Inc. [AMD] Kabini/Mullins PSP-Platform Security Processor
00:10.0 USB controller: Advanced Micro Devices, Inc. [AMD] FCH USB XHCI Controller (rev 11)
00:11.0 SATA controller: Advanced Micro Devices, Inc. [AMD] FCH SATA Controller [AHCI mode] (rev 40)
00:13.0 USB controller: Advanced Micro Devices, Inc. [AMD] FCH USB EHCI Controller (rev 39)
00:14.0 SMBus: Advanced Micro Devices, Inc. [AMD] FCH SMBus Controller (rev 42)
00:14.3 ISA bridge: Advanced Micro Devices, Inc. [AMD] FCH LPC Bridge (rev 11)
00:14.7 SD Host controller: Advanced Micro Devices, Inc. [AMD] FCH SD Flash Controller (rev 01)
00:18.0 Host bridge: Advanced Micro Devices, Inc. [AMD] Family 16h (Models 30h-3fh) Processor Function 0
00:18.1 Host bridge: Advanced Micro Devices, Inc. [AMD] Family 16h (Models 30h-3fh) Processor Function 1
00:18.2 Host bridge: Advanced Micro Devices, Inc. [AMD] Family 16h (Models 30h-3fh) Processor Function 2
00:18.3 Host bridge: Advanced Micro Devices, Inc. [AMD] Family 16h (Models 30h-3fh) Processor Function 3
00:18.4 Host bridge: Advanced Micro Devices, Inc. [AMD] Family 16h (Models 30h-3fh) Processor Function 4
00:18.5 Host bridge: Advanced Micro Devices, Inc. [AMD] Family 16h (Models 30h-3fh) Processor Function 5
01:00.0 Ethernet controller: Intel Corporation I211 Gigabit Network Connection (rev 03)
02:00.0 Ethernet controller: Intel Corporation I211 Gigabit Network Connection (rev 03)
lsusb :
Bus 001 Device 002: ID 0438:7900 Advanced Micro Devices, Inc.
Bus 001 Device 001: ID 1d6b:0002 Linux Foundation 2.0 root hub
Bus 003 Device 001: ID 1d6b:0003 Linux Foundation 3.0 root hub
Bus 002 Device 001: ID 1d6b:0002 Linux Foundation 2.0 root hub
Initial conclusions
I’m so far pleased with the PC Engines APU2E0. Installation was actually quite easy. Many times I have had to fight with kids about screen device, but the serial connection it obsolete. Speed is good and the thing is completely silent. The NICs are also quality Intel stuff requiring no additional firmware (as compared to usual Realteks).
It is a good spot to venture forth with APU2E0 and see how the system endures the test of time.
Update 2020-12-14: Installation hint from TekLager
The great people at TekLager told that there is a bit of a variation possible for install procedure. They have their own installation guide here. What they wanted to point out that one can take off the “vga=off” and have instead this stanza:
install console=ttyS0,115200n8
This, they say, can skip the need to alter grub afterwards. Cool! Check the details from their site.